Image Processing Example: m8 (Lagoon Nebula)
Step-by-step processing of m8, from raw frames to finished image. Click images to enlarge.
Step 0: Images ready to process
These image files were taken with an Optical Guidance Systems 32" Ritchey-Chretien telescope and SBIG STL-11000m camera, from very dark and transparent skies in northwestern Arizona.
The raw files have been calibrated (Dark Subtracted, Flat Fielded, Hot/Cold Pixels removed), and aligned with each other.
These files are available for download if you wish to follow along or try your own processing.
The raw files have been calibrated (Dark Subtracted, Flat Fielded, Hot/Cold Pixels removed), and aligned with each other.
These files are available for download if you wish to follow along or try your own processing.
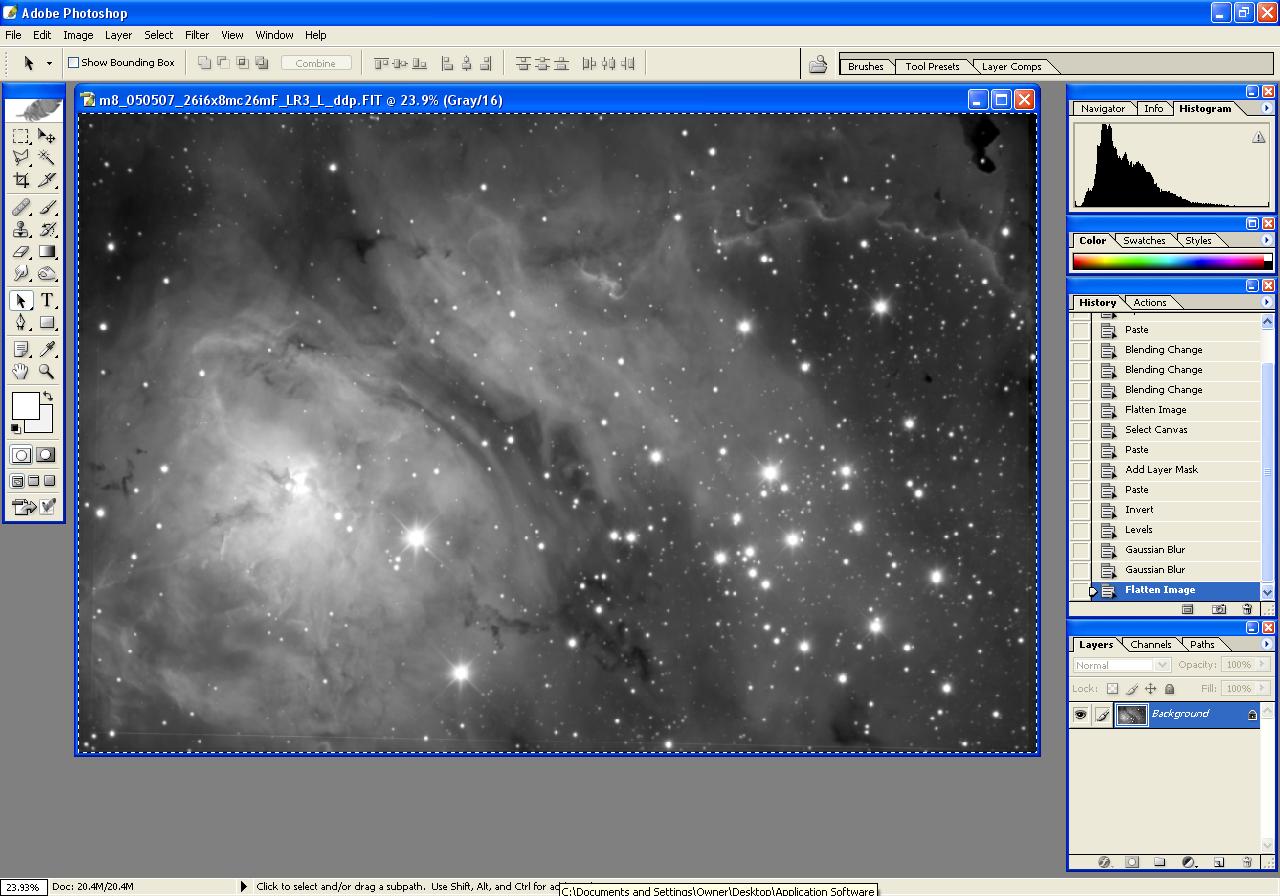
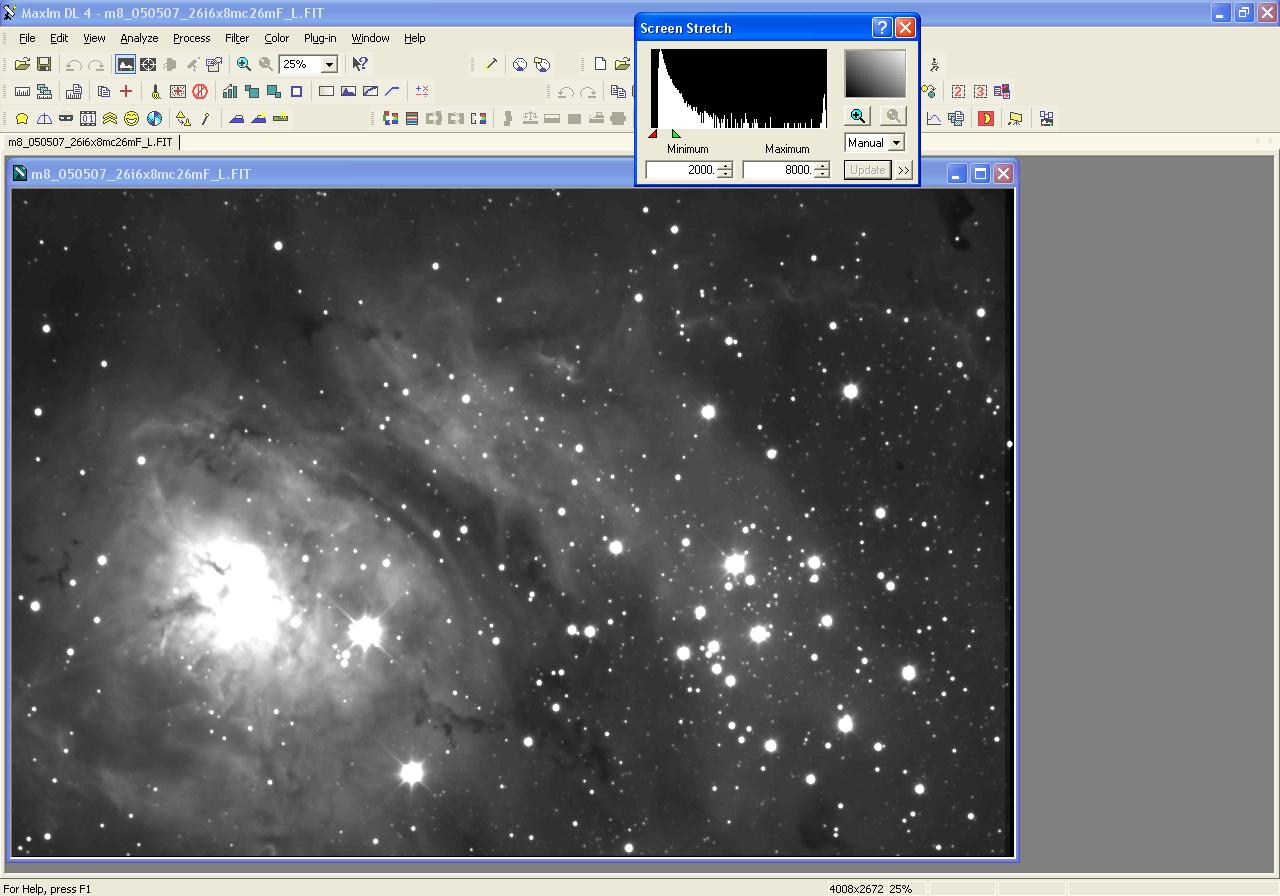
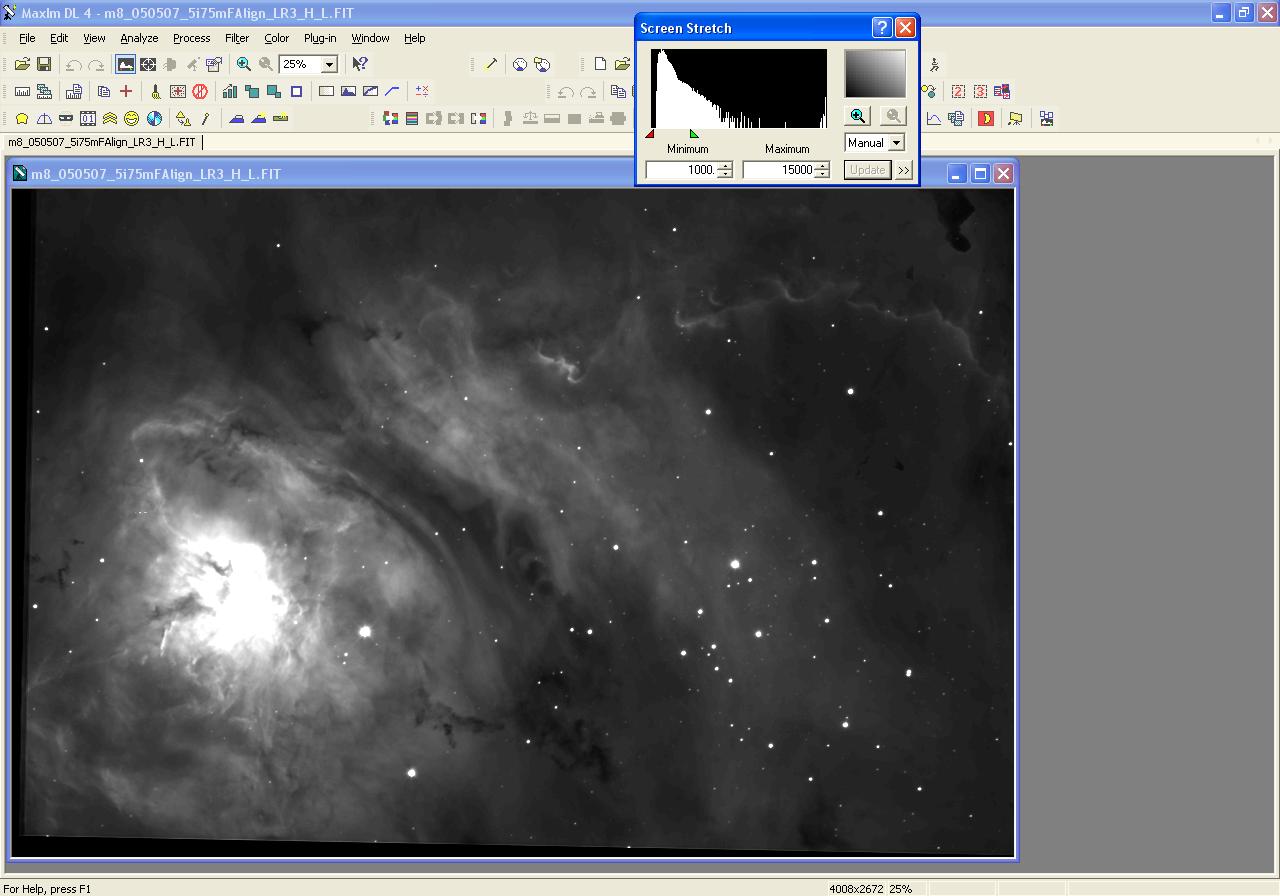
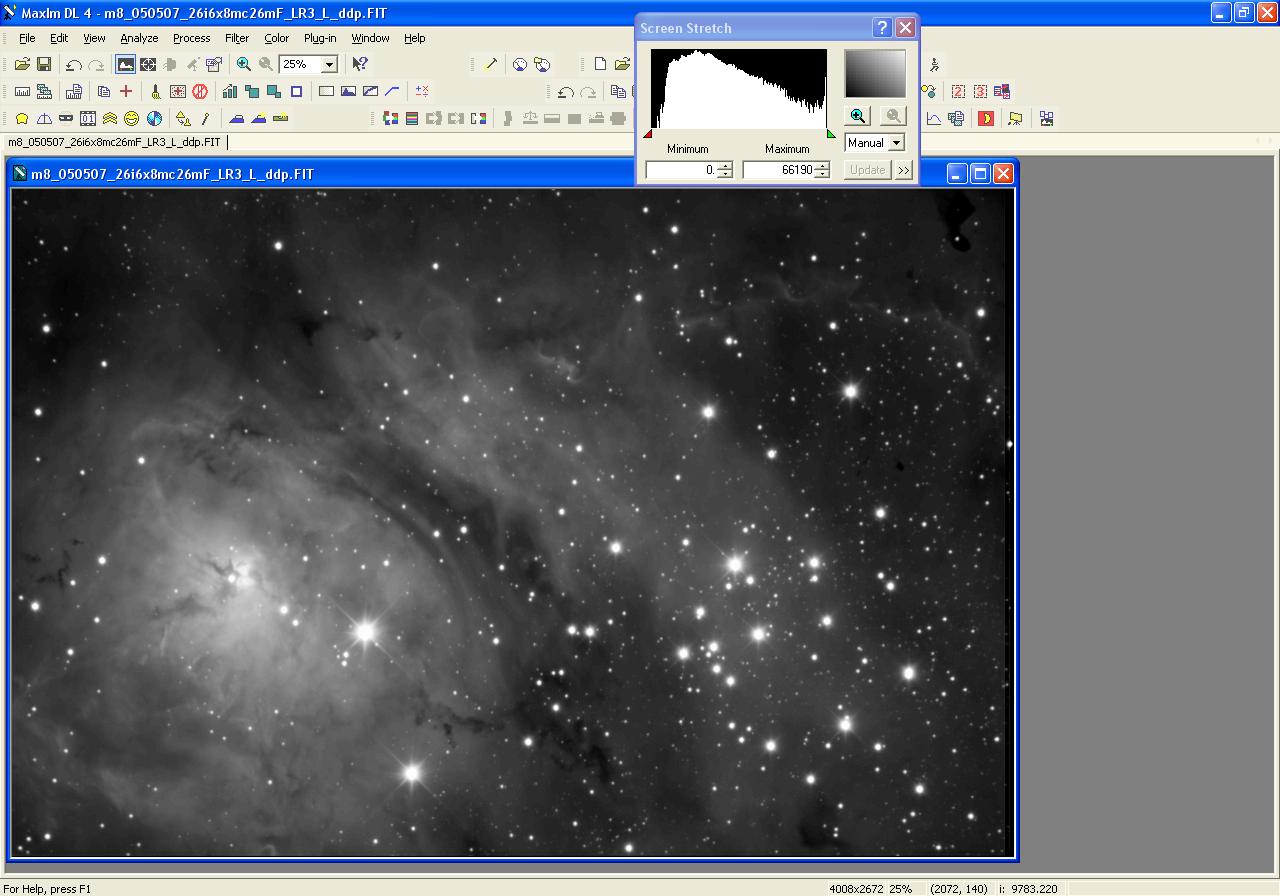
Step 1: Luminance File
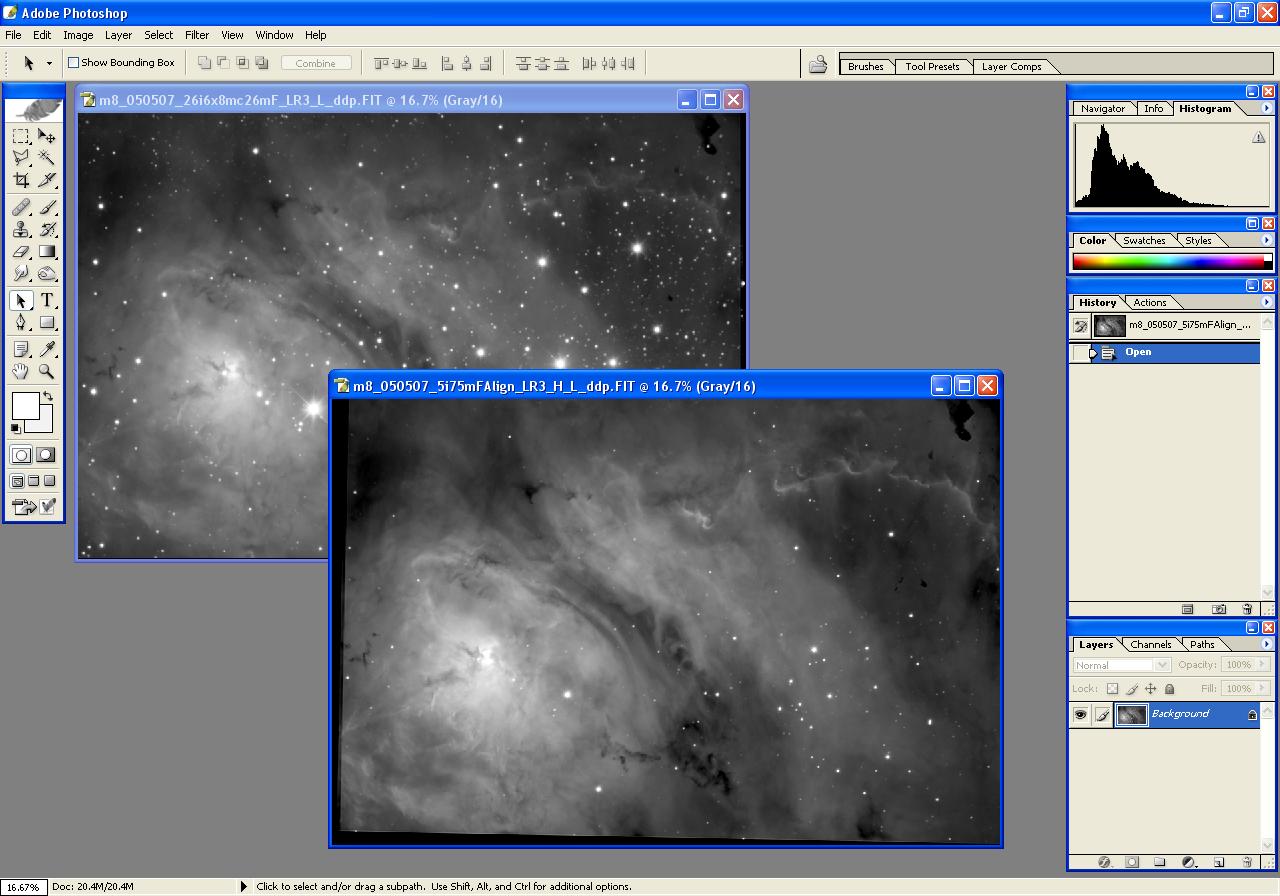
Luminance file: Stack of 26 sub-frames, 1 min each, unbinned, SBIG Clear filter.
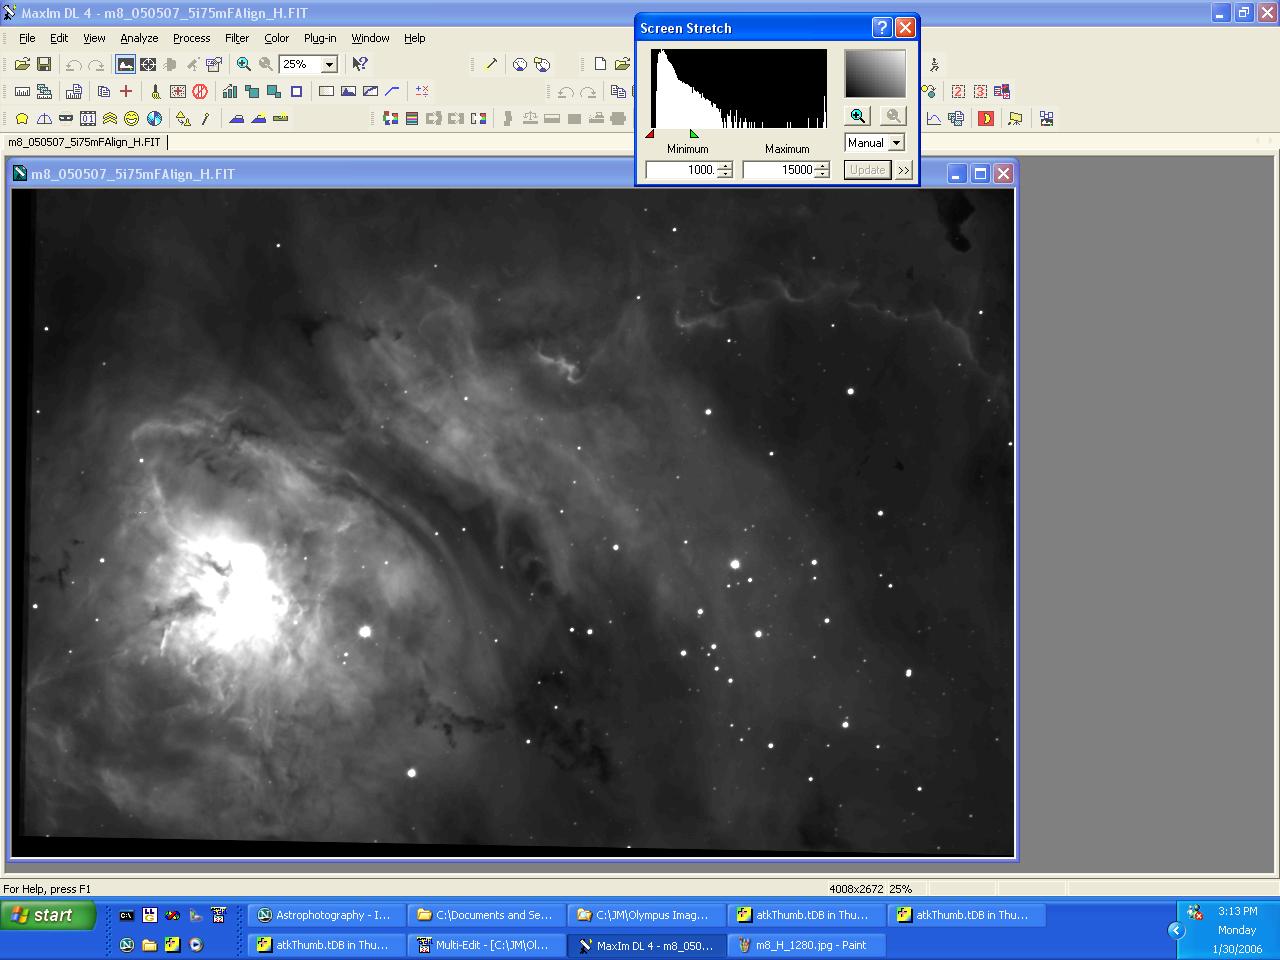
Step 2: Hydrogen-Alpha File
Hydrogen-Alpha file: Stack of 5 sub-frames, 15 min each, unbinned, Astrodon H-alpha filter.
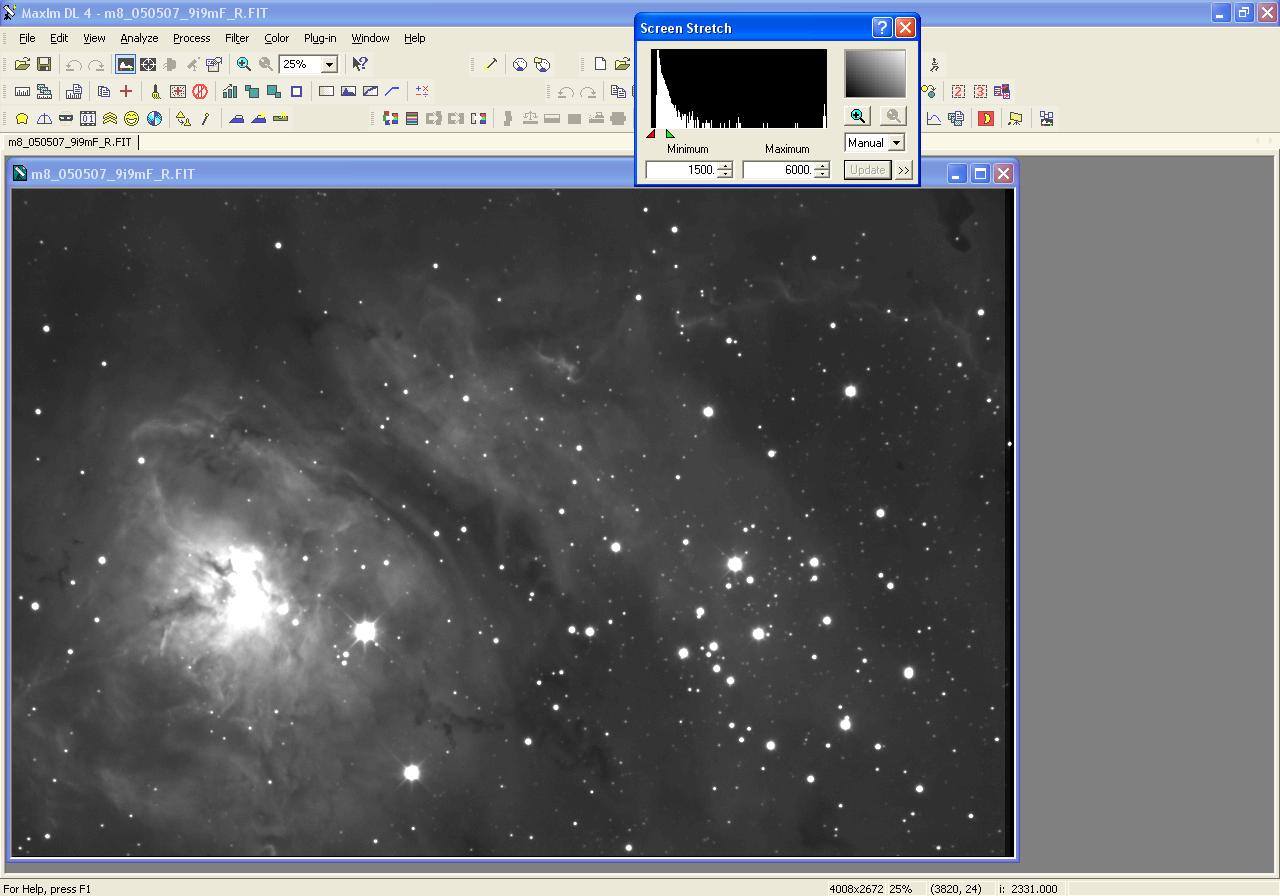
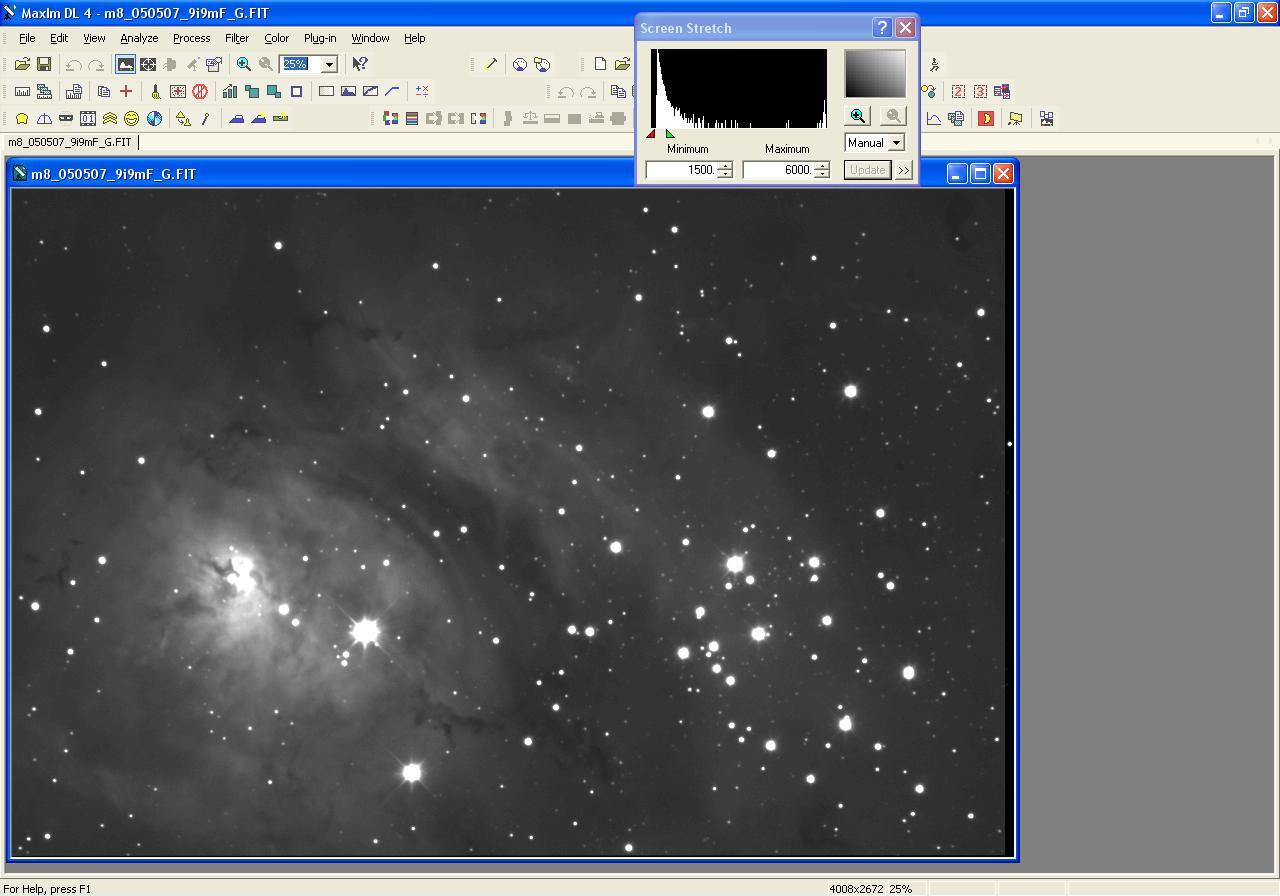
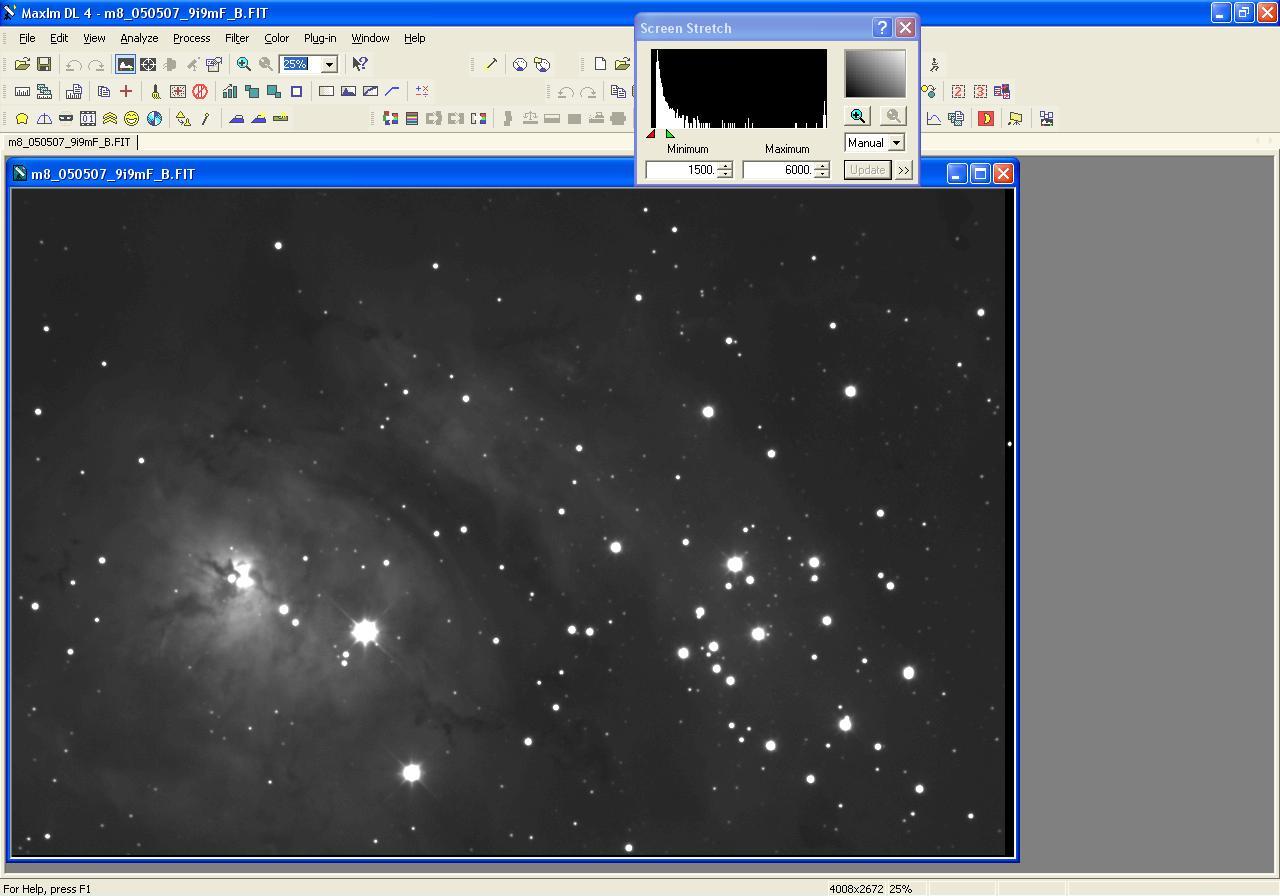
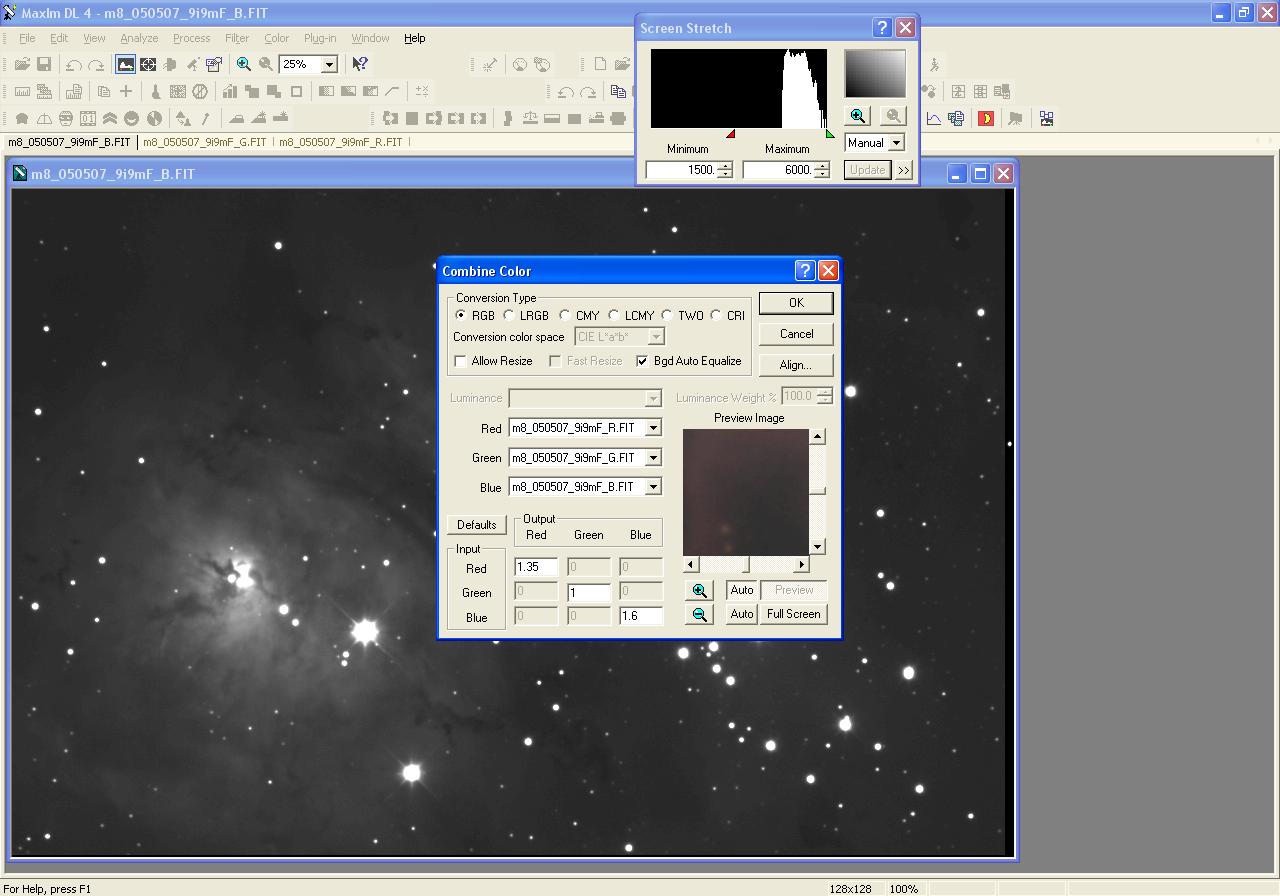
Step 3: Red, Green, Blue Files
Red, Green, Blue files: Each is a stack of 9 sub-frames, 1 min each, unbinned, through respective filters.
Step 4: Deconvolution (CCDSharp)
Use CCDSharp to perform 3-iteration Richardson-Lucy Deconvolution on Luminance and H-alpha frames.
Learn more about this step.
Learn more about this step.

Step 5: Non-Linear Stretch (MaxIm DL)
Use MaxIm DL to apply Non-Linear Stretch (DDP) to Luminance, H-alpha, and RGB frames.
Learn more about DDP.
Learn more about DDP.

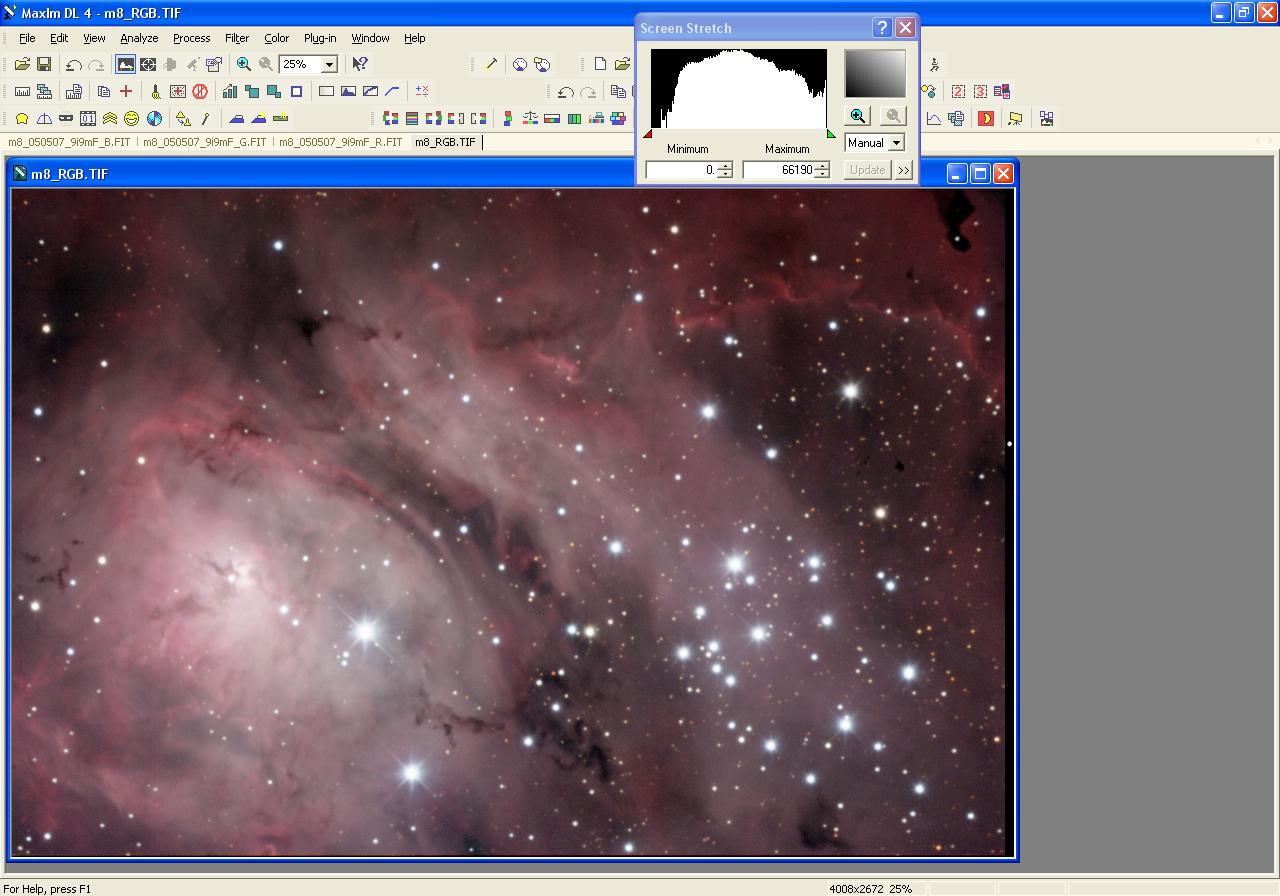
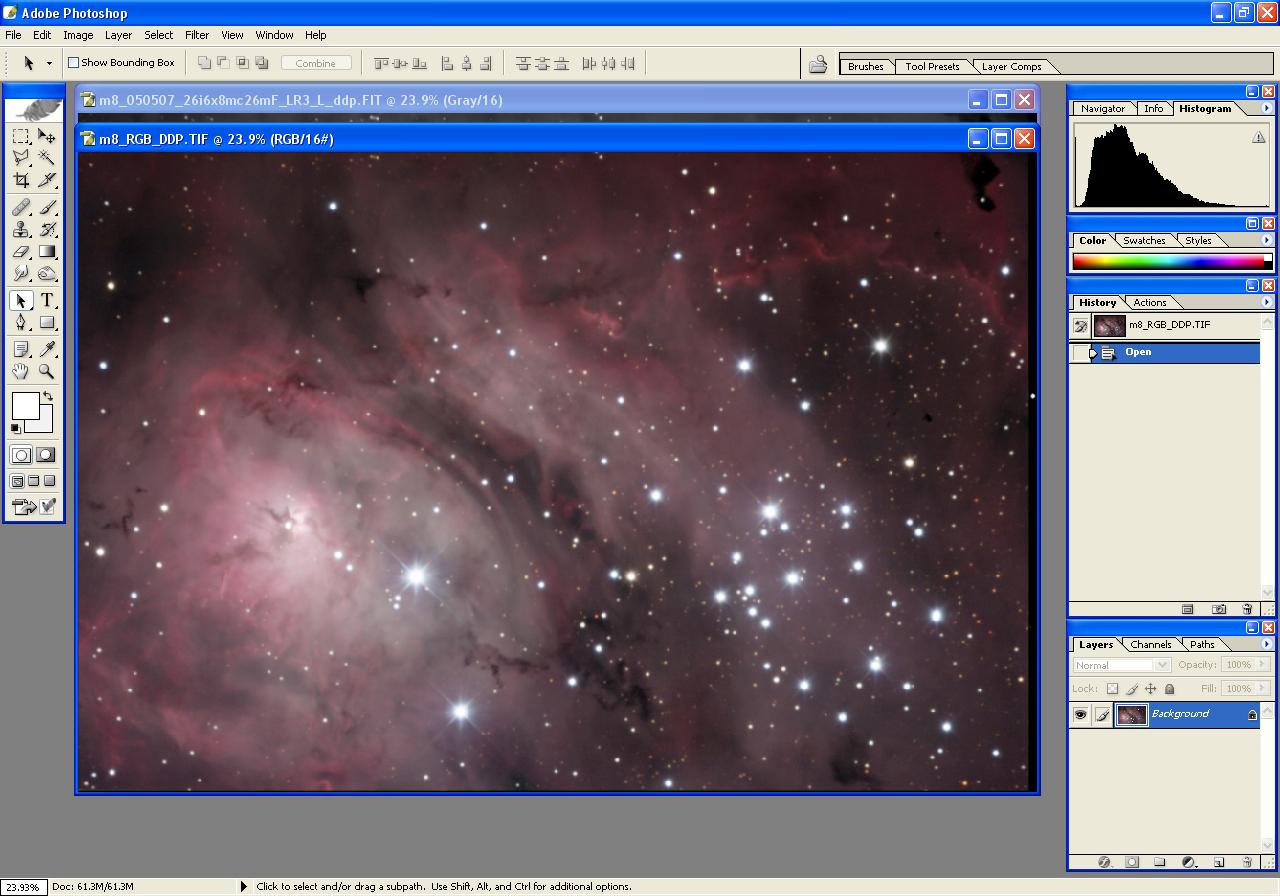
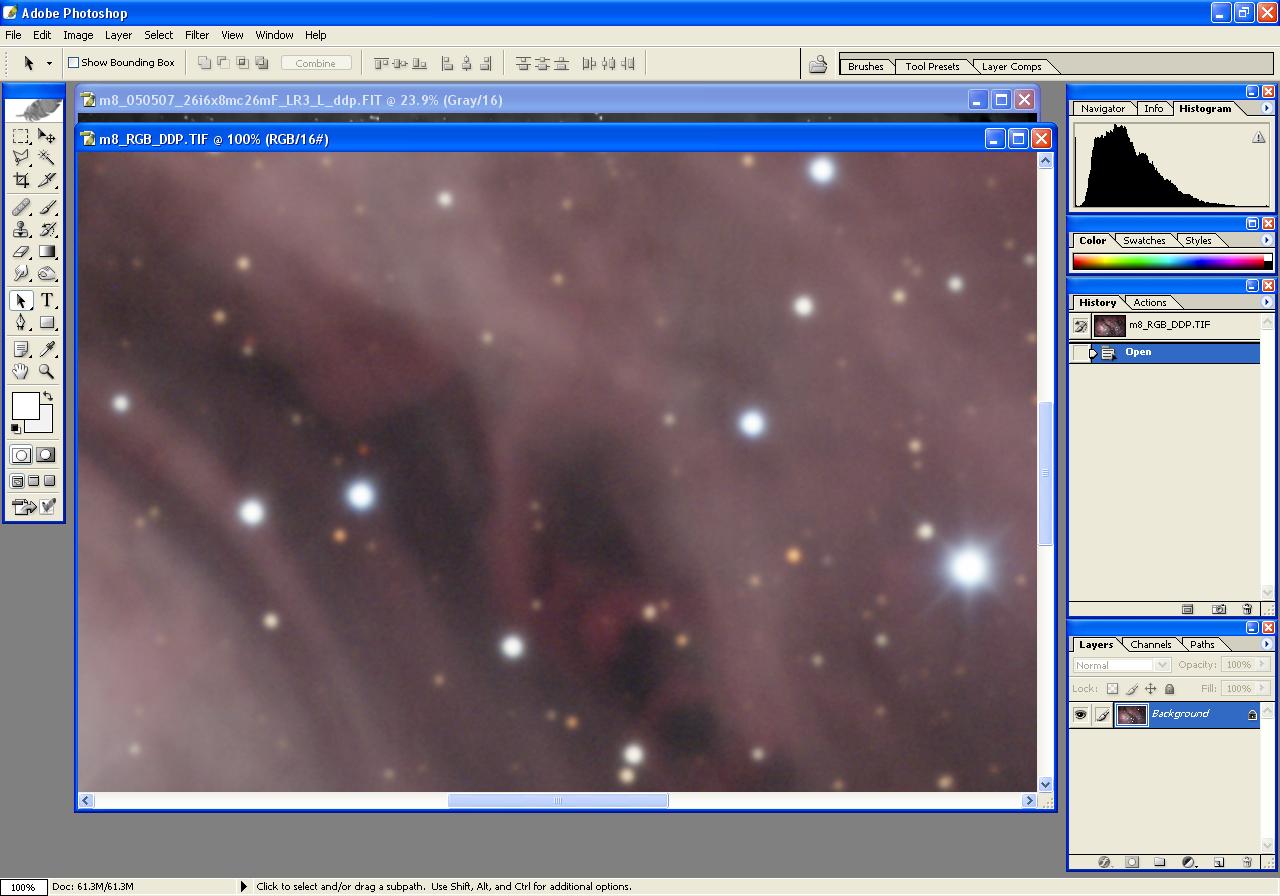
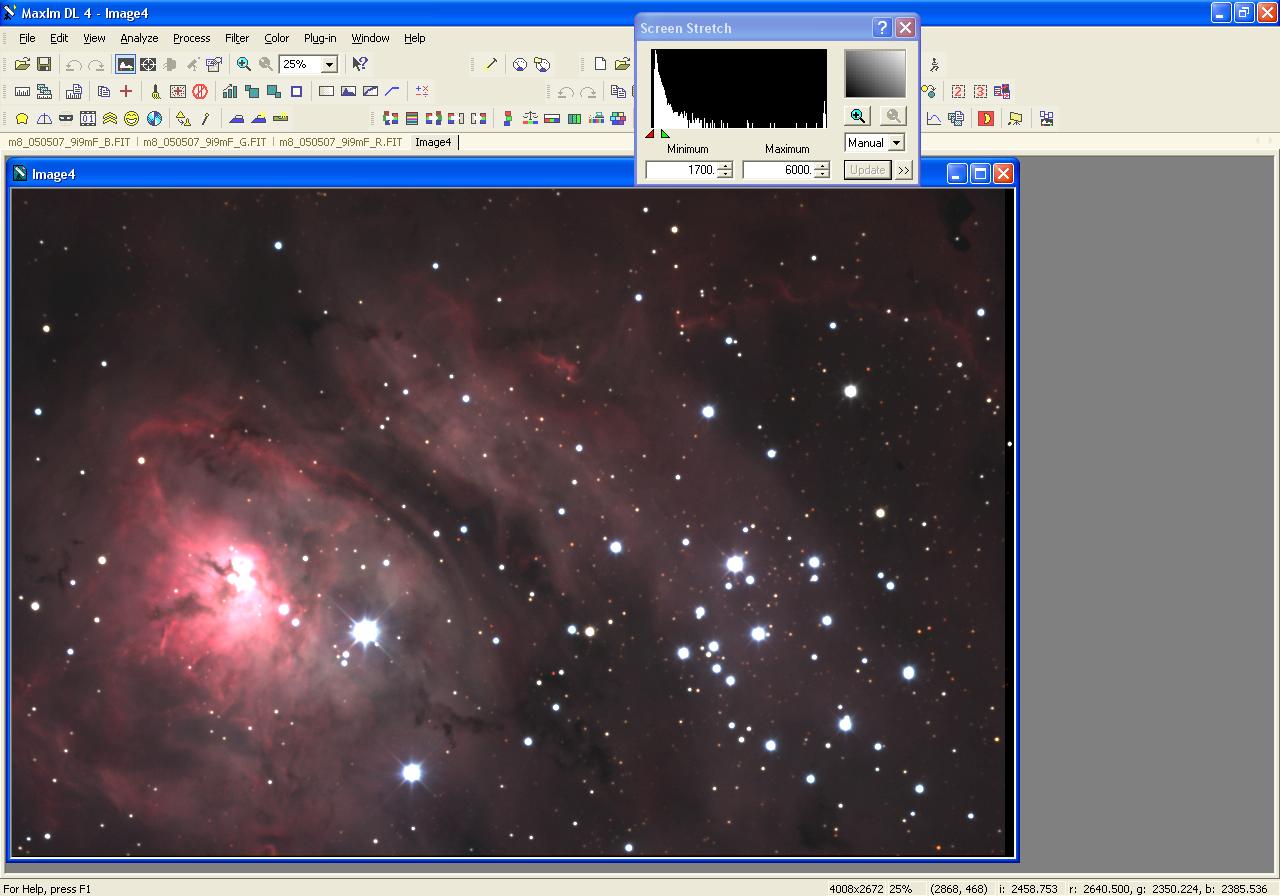
Step 6: Color Combine (MaxIm DL)
Combine R, G, B frames in MaxIm DL. Adjust color mixing ratios and background equalization as needed.
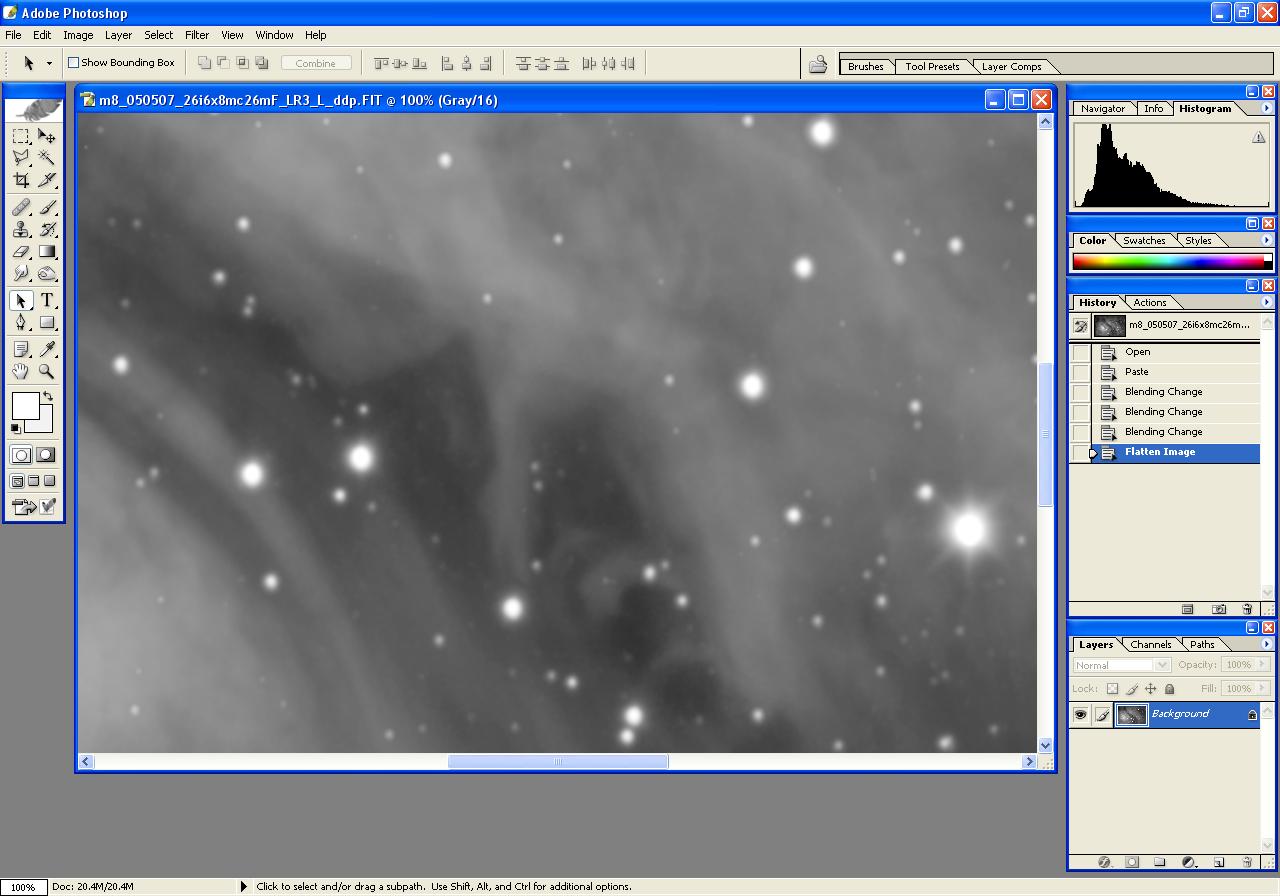
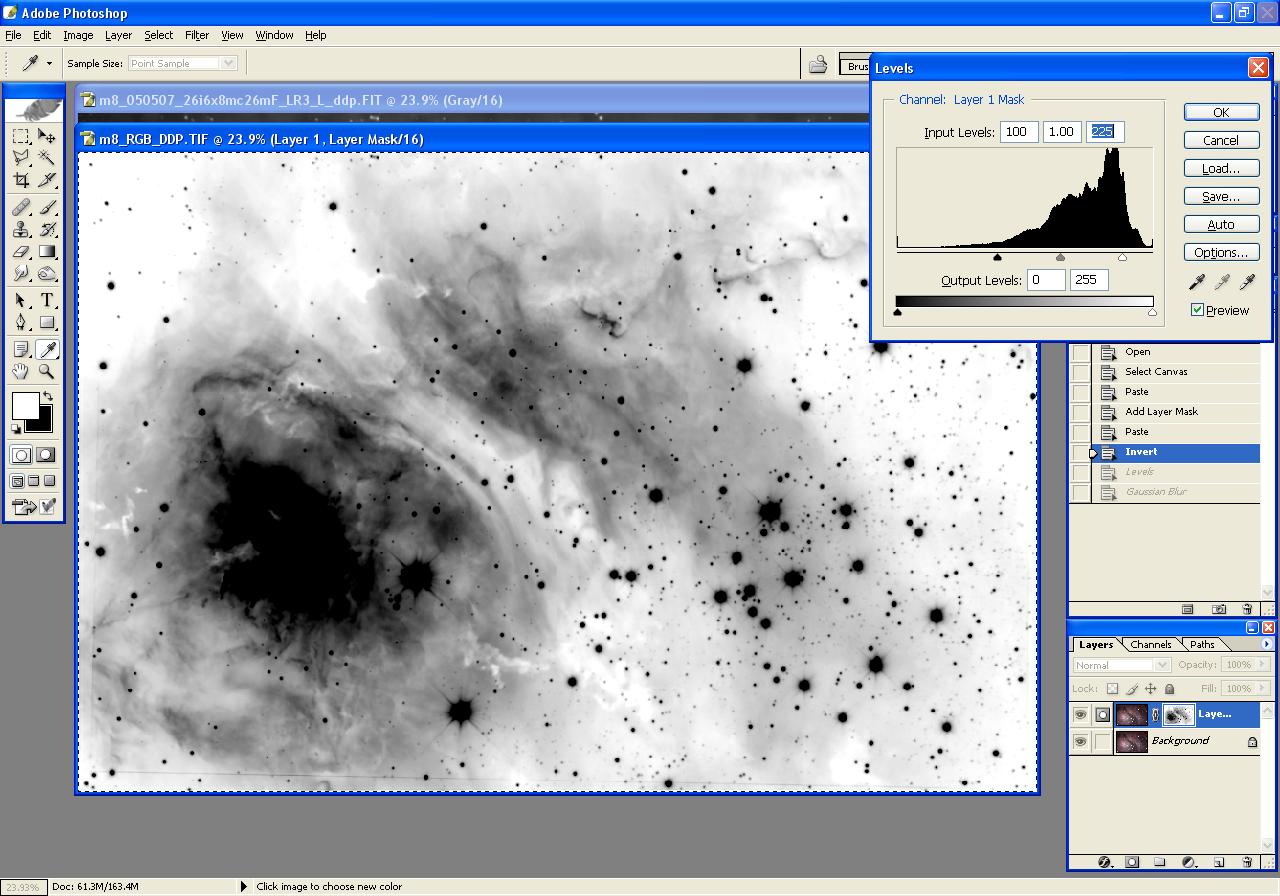
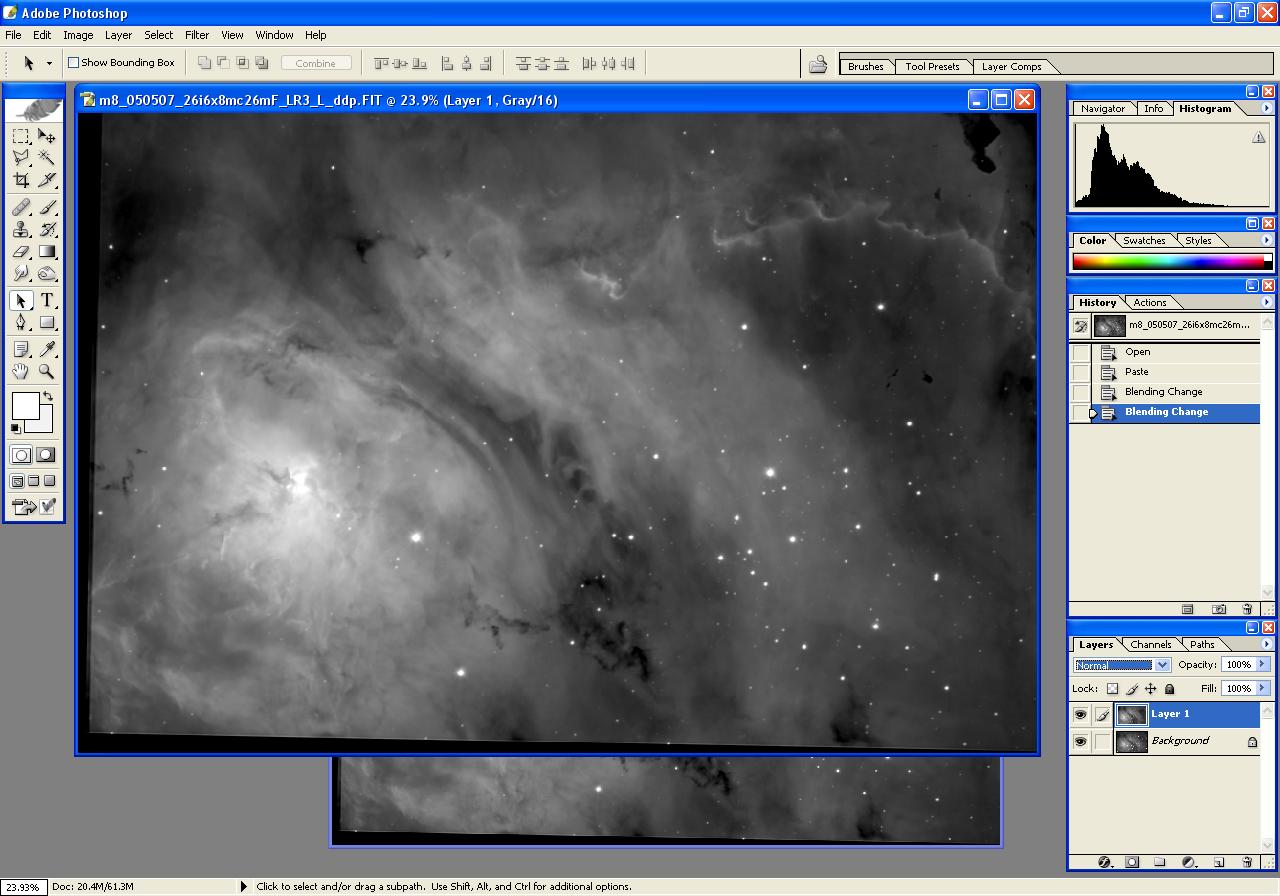
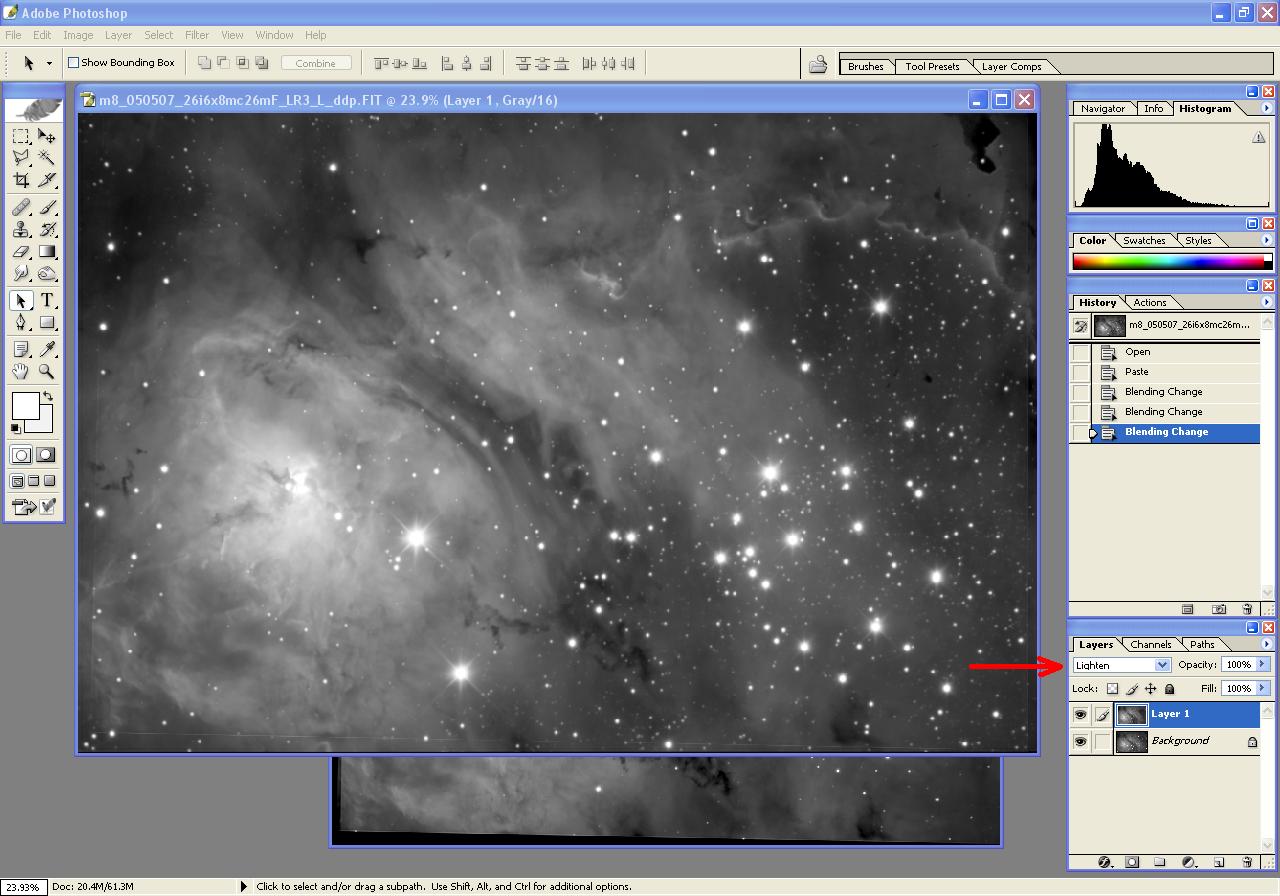
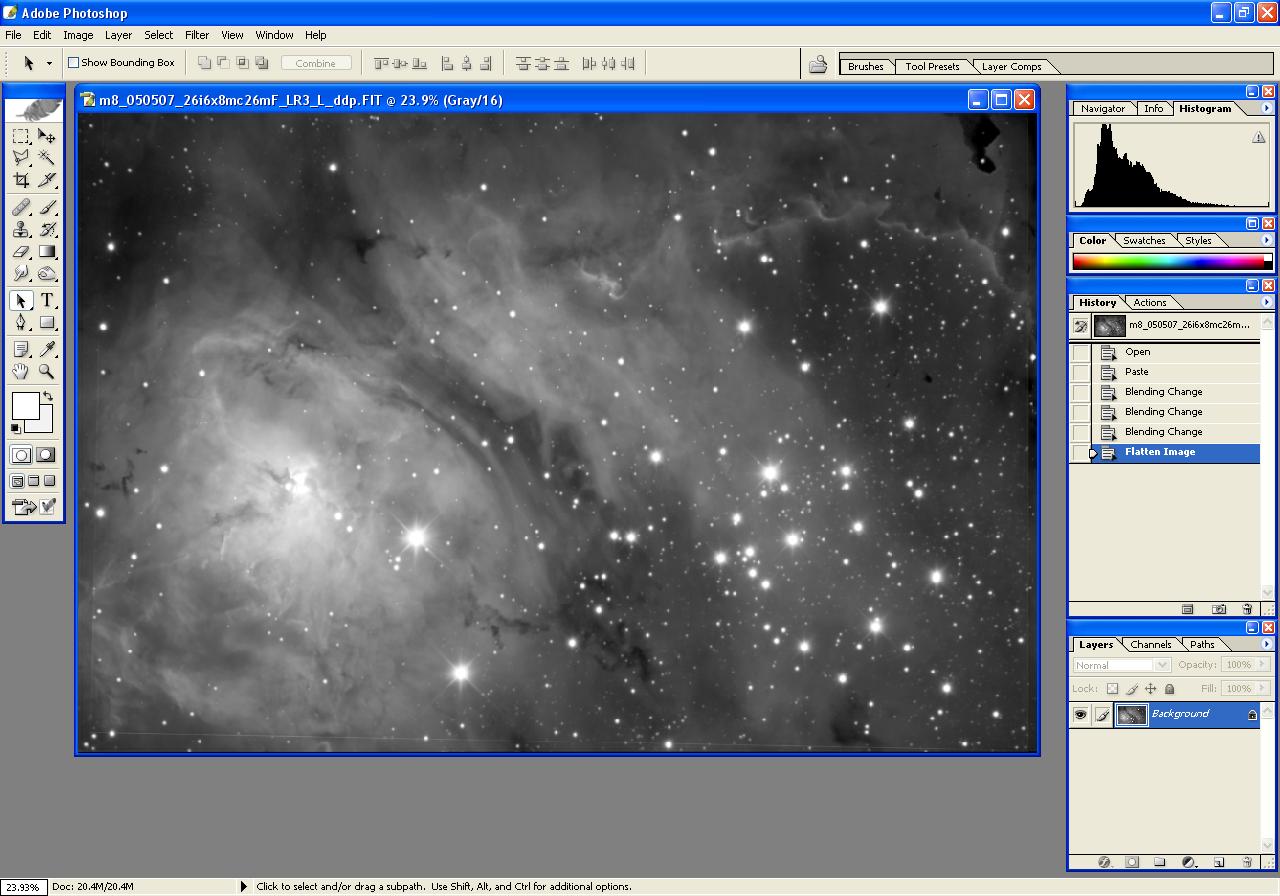
Step 7: Photoshop Merge & Finishing
Merge Luminance and H-alpha in Photoshop using Lighten blend mode. Flatten layers, then use Inverted Layer Mask and Gaussian Blur to reduce background noise. Repeat for RGB as needed.
Learn more about Inverted Layer Mask.
Learn more about Inverted Layer Mask.
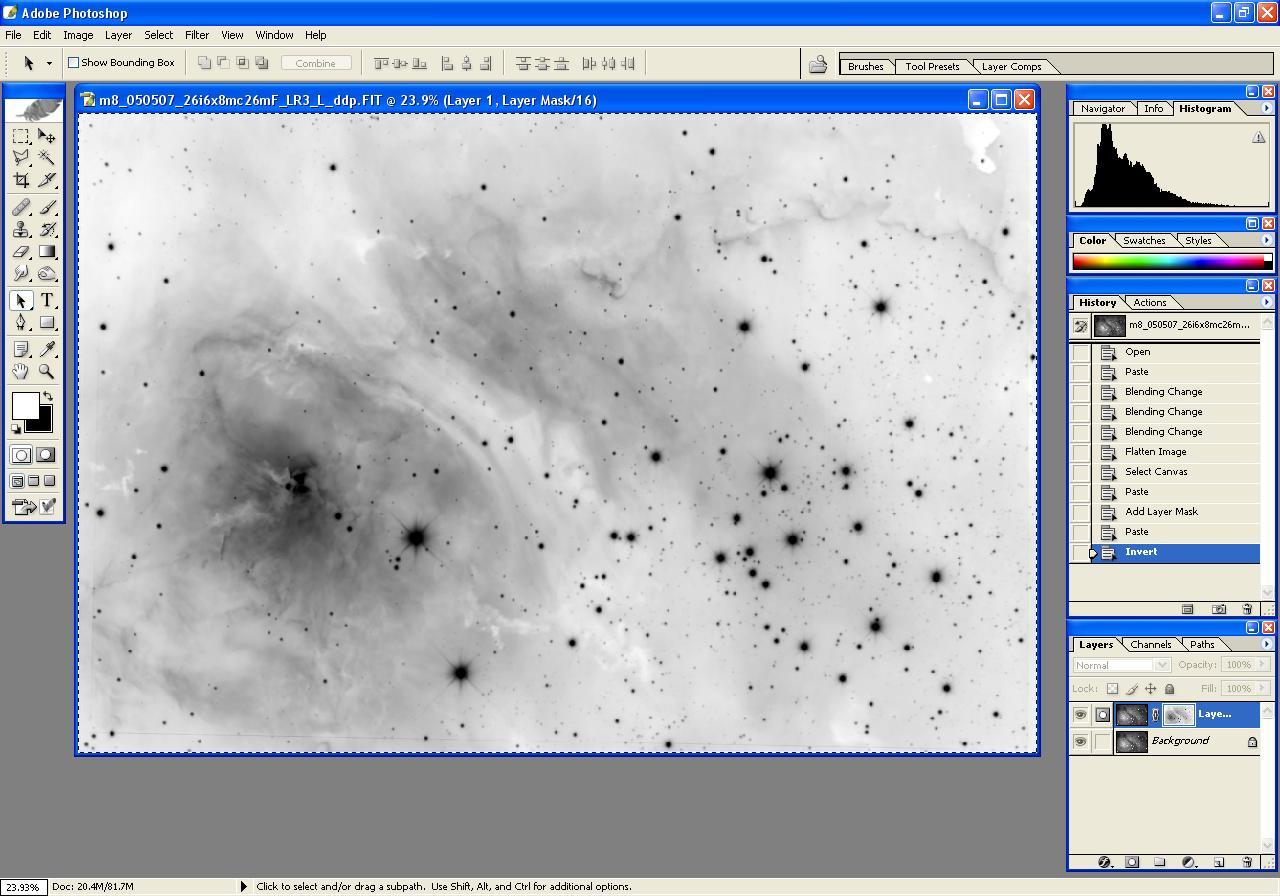
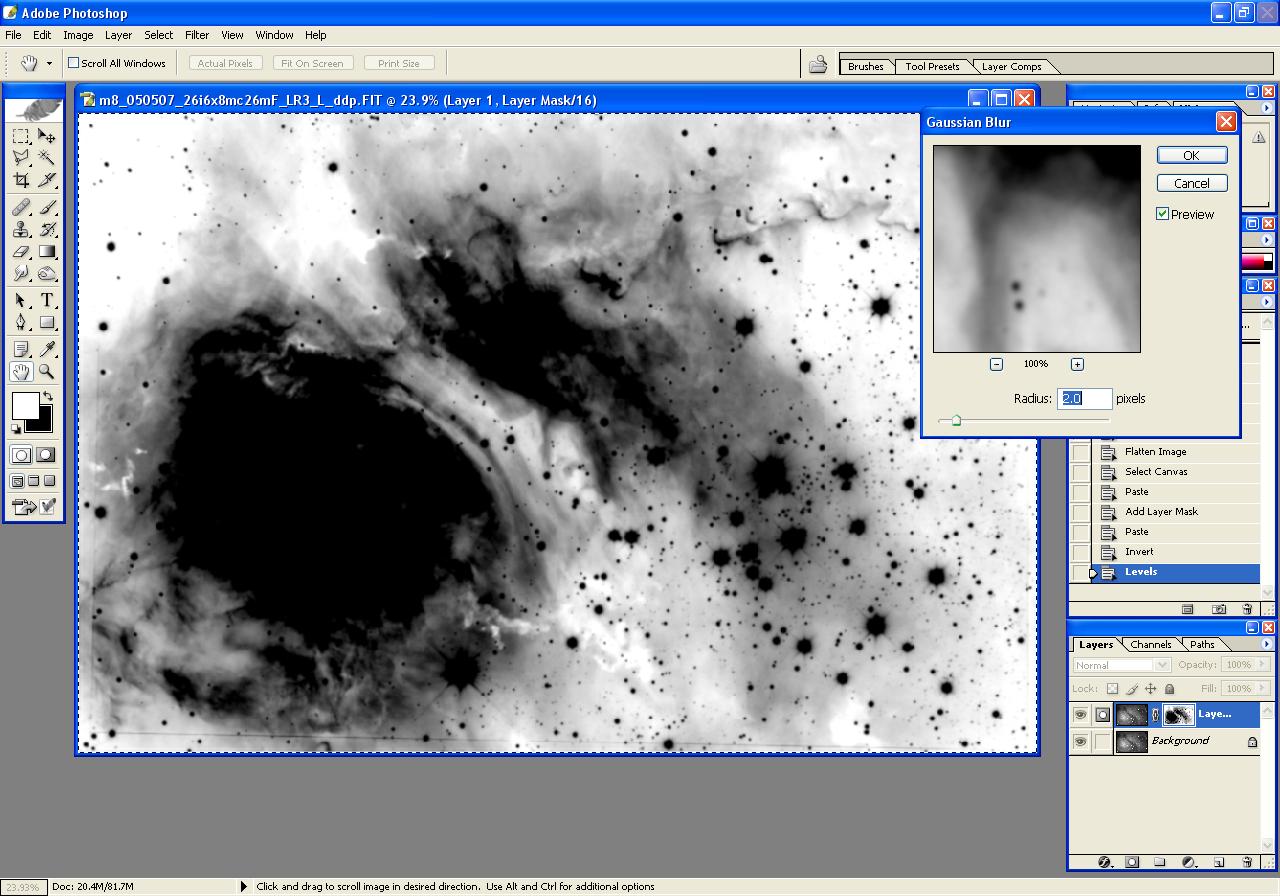
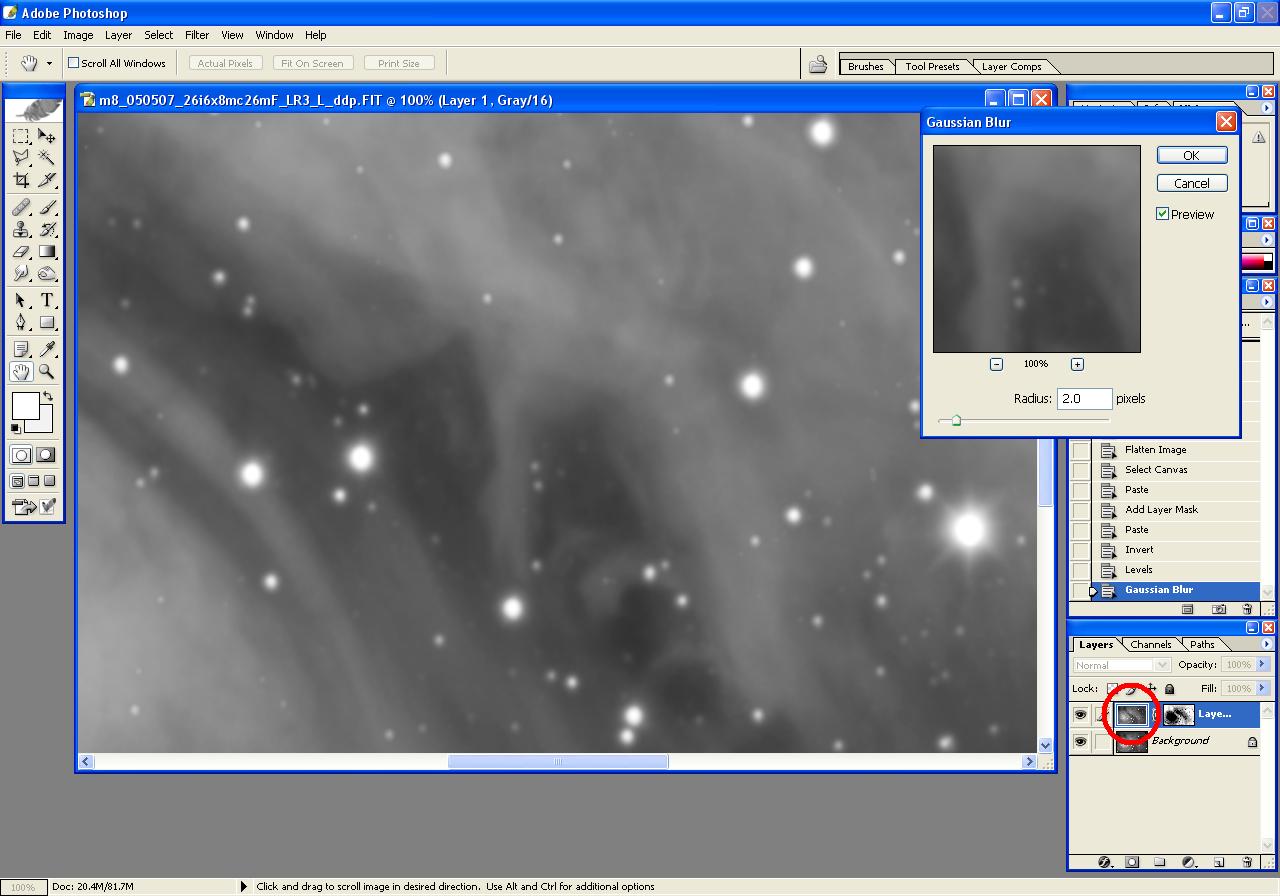
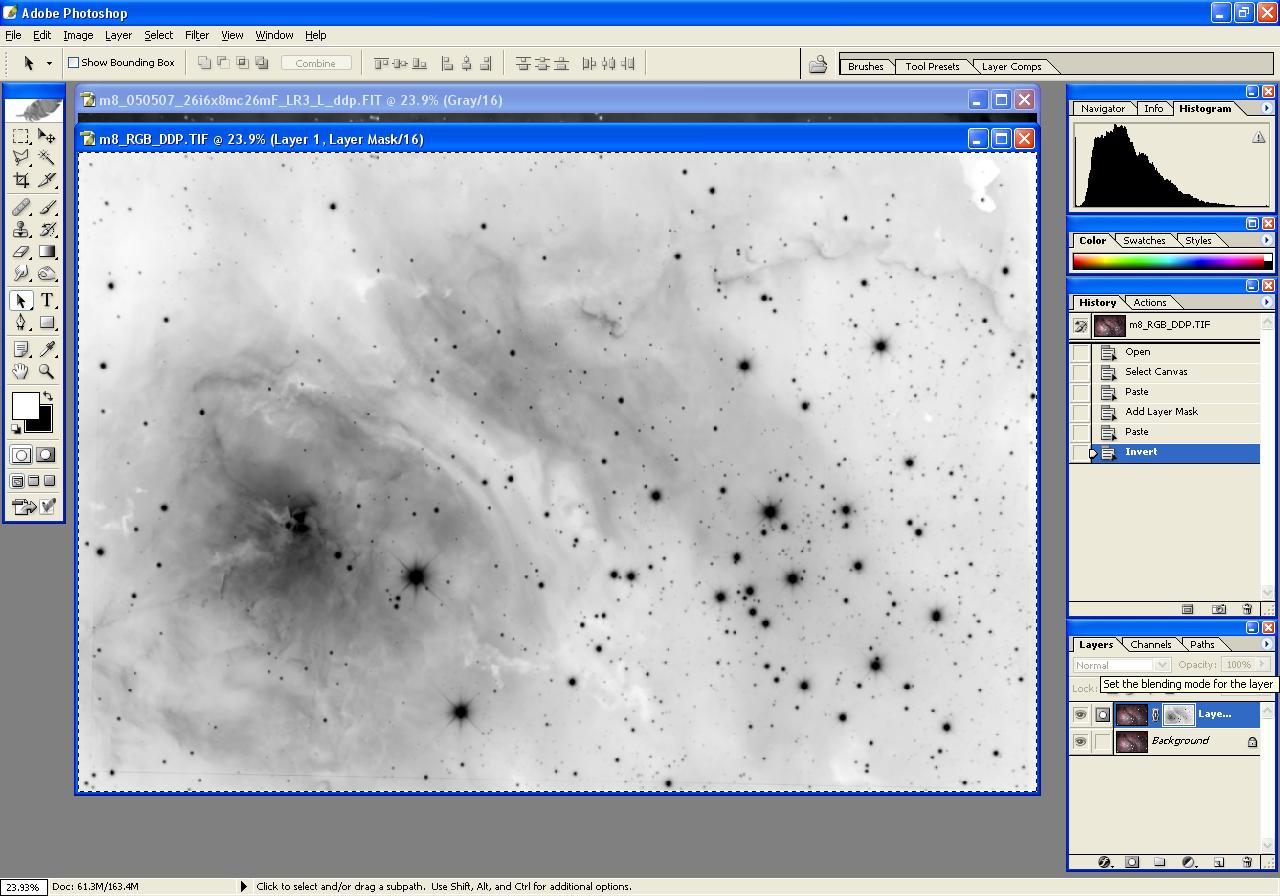
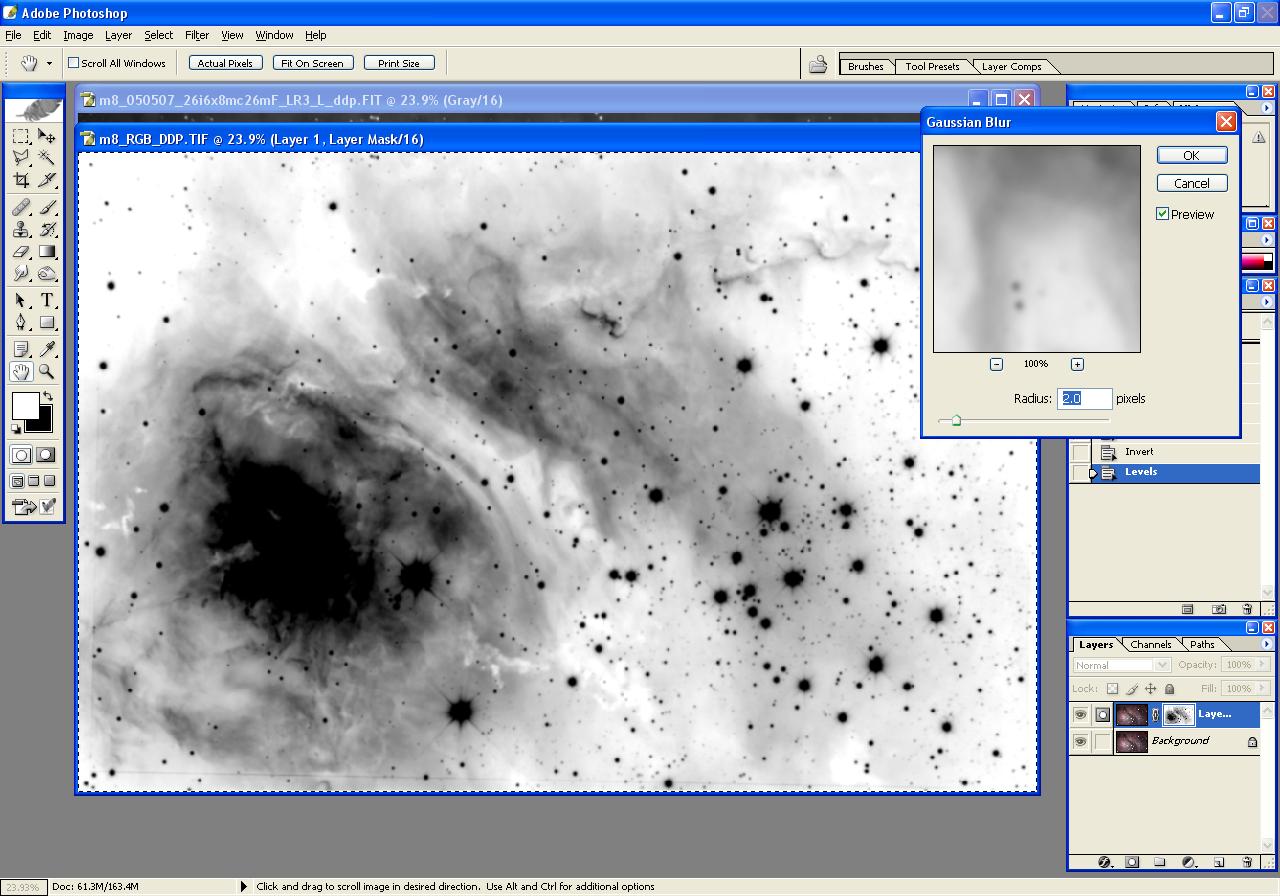
Step 8: Final Noise Reduction
Use Inverted Layer Mask and Gaussian Blur to reduce noise in both HaL and RGB images. Adjust Levels as needed for best results.