Image Processing Example: m63 (Sunflower Galaxy)
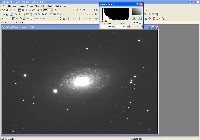
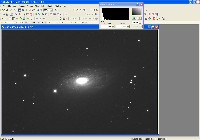
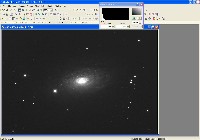
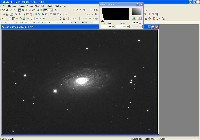
Step-by-step processing of m63, from raw frames to finished image. Click images to enlarge.
Step 0: Images ready to process
These image files were taken with an Optical Guidance Systems 32" Ritchey-Chretien telescope and SBIG STL-11000m camera, from very dark and transparent skies in northwestern Arizona.
The raw files have been calibrated (Dark Subtracted, Flat Fielded, Hot/Cold Pixels removed), and aligned with each other.
These files are available to interested users who wish to follow along with their own software, and/or make their own alterations to the process.
The raw files have been calibrated (Dark Subtracted, Flat Fielded, Hot/Cold Pixels removed), and aligned with each other.
These files are available to interested users who wish to follow along with their own software, and/or make their own alterations to the process.
Step 1: Deconvolve Luminance File
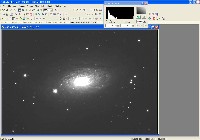
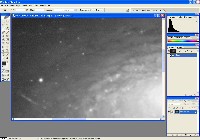
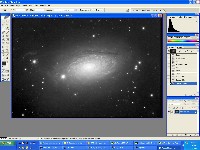
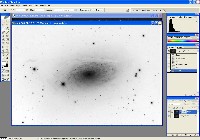
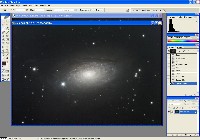
Use CCDSharp to do a 3-iteration Richardson-Lucy Deconvolution on the Luminance frame. Luminance file shown after deconvolution at right.
Step 2: Non-Linear Stretch of Luminance File
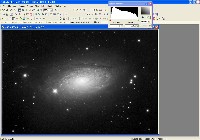
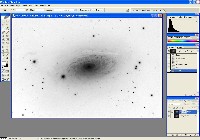
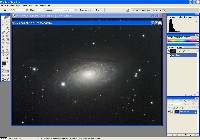
Use MaxIm DL to do a Non-Linear Stretch (DDP) on the Luminance frame. DDP parameters: Background = 4200, Mid-Level = 5400. Luminance file shown after non-linear stretch at right.
Step 3: Color Combine Red/Green/Blue frames and do Non-Linear Stretch on result
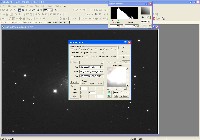
In MaxIm DL, load all three color files and select Color | Combine Color.
Set the color mixing ratio for each filter. Example: 1.00 - Red, 1.20 - Green, 1.20 - Blue. Check the Bgd Auto Equalize button.
After color combine, do a non-linear stretch (DDP) on the RGB frame. DDP parameters: Background = 1000, Mid-Level = 1300. Save as 16-bit TIFF.
The color here may seem washed out, but will be improved in Photoshop.
Step 4: Load Luminance into Photoshop, Reduce Background Noise using Inverted Layer Mask
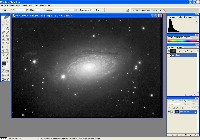
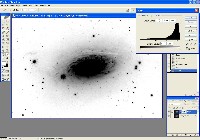
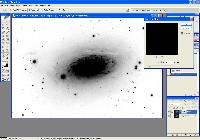
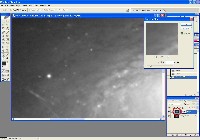
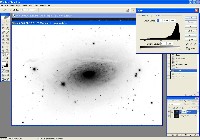
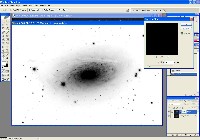
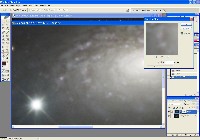
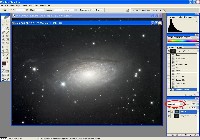
Load the non-linear stretched Luminance frame into Photoshop. Use Inverted Layer Mask and Gaussian Blur to reduce noise in the low-signal areas, protecting stars and details. Adjust Levels as needed.
Step 5: Load RGB Image, Reduce Color Noise using Inverted Layer Mask
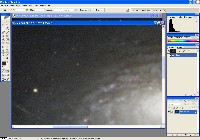
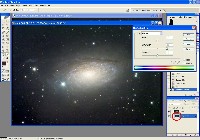
Load the non-linear stretched RGB image. Use Inverted Layer Mask (using the Luminance image as the mask) and Gaussian Blur to reduce color noise. Adjust Levels as needed.
Step 6: Merge Luminance image into RGB image
Step 7: Final Adjustments/Tweaking Image
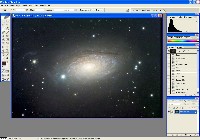
Final adjustments are subjective and depend on the imager's preferences. Adjust brightness, contrast, and color to achieve the desired final result.

