Image Processing Example: m13 (Globular Cluster in Hercules)
Step-by-step processing of m13, from raw frames to finished image. Click images to enlarge.
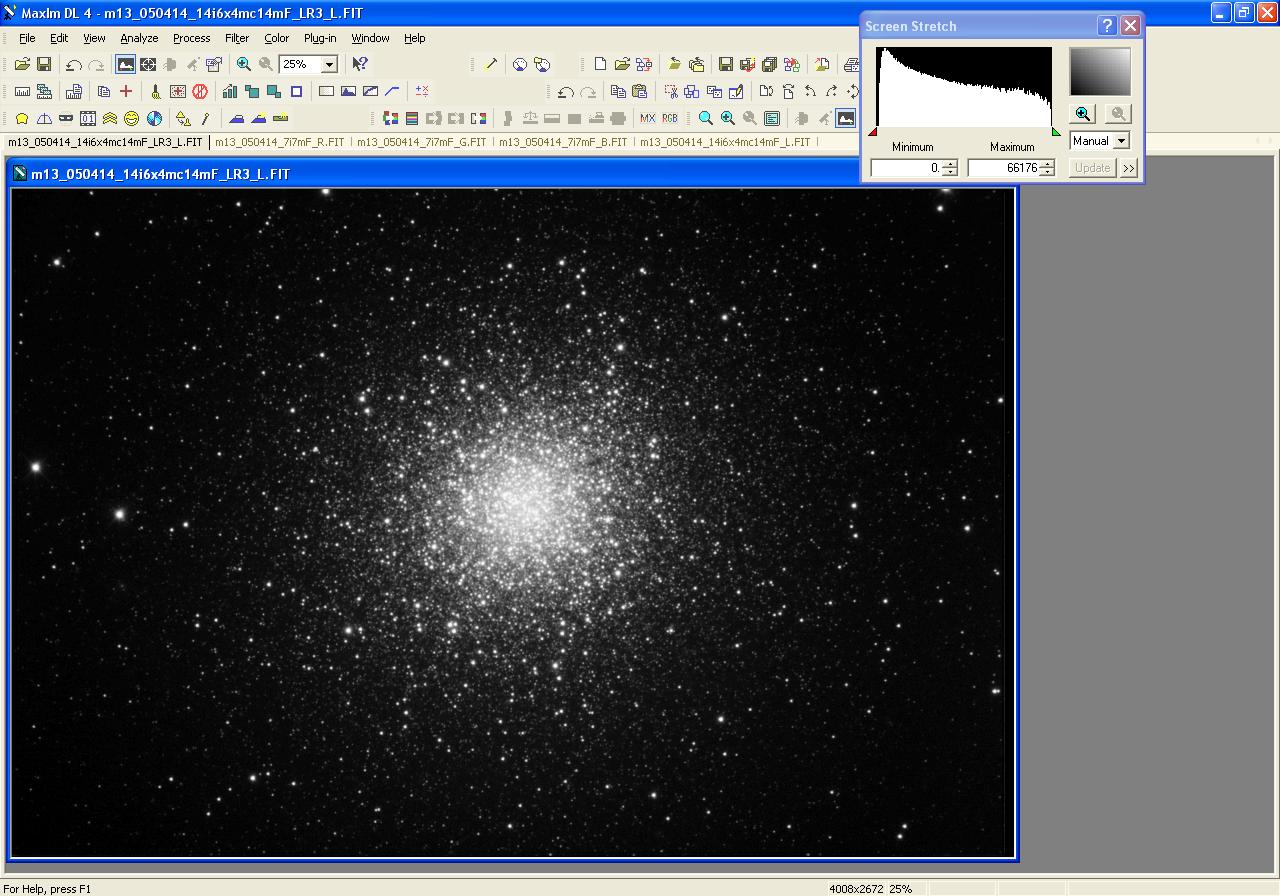
Step 0: Images ready to process
These image files were taken with an Optical Guidance Systems 32" Ritchey-Chretien telescope and SBIG STL-11000m camera, from very dark and transparent skies in northwestern Arizona.
The raw files have been calibrated (Dark Subtracted, Flat Fielded, Hot/Cold Pixels removed), and aligned with each other.
These files are available to interested users who wish to follow along with their own software, and/or make their own alterations to the process.
The raw files have been calibrated (Dark Subtracted, Flat Fielded, Hot/Cold Pixels removed), and aligned with each other.
These files are available to interested users who wish to follow along with their own software, and/or make their own alterations to the process.
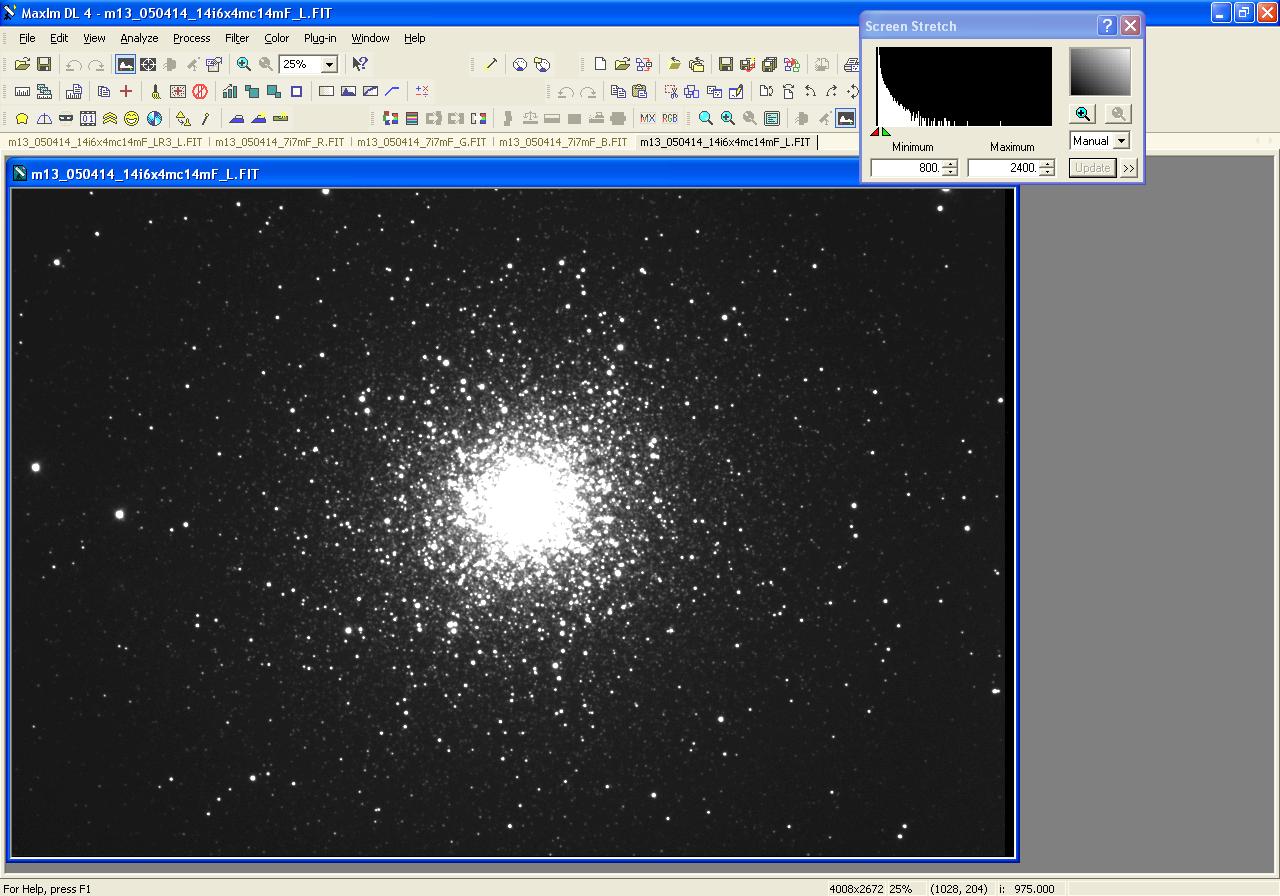
Luminance File
Luminance file: Series of 6 added sub-frames, each of which is an added stack of 4 sub-frames, each exposed for 1 minute, unbinned, through an SBIG Clear filter.
Red File
Red file: Added stack of 7 sub-frames, each exposed for 1 minute, unbinned, through an SBIG Red filter.

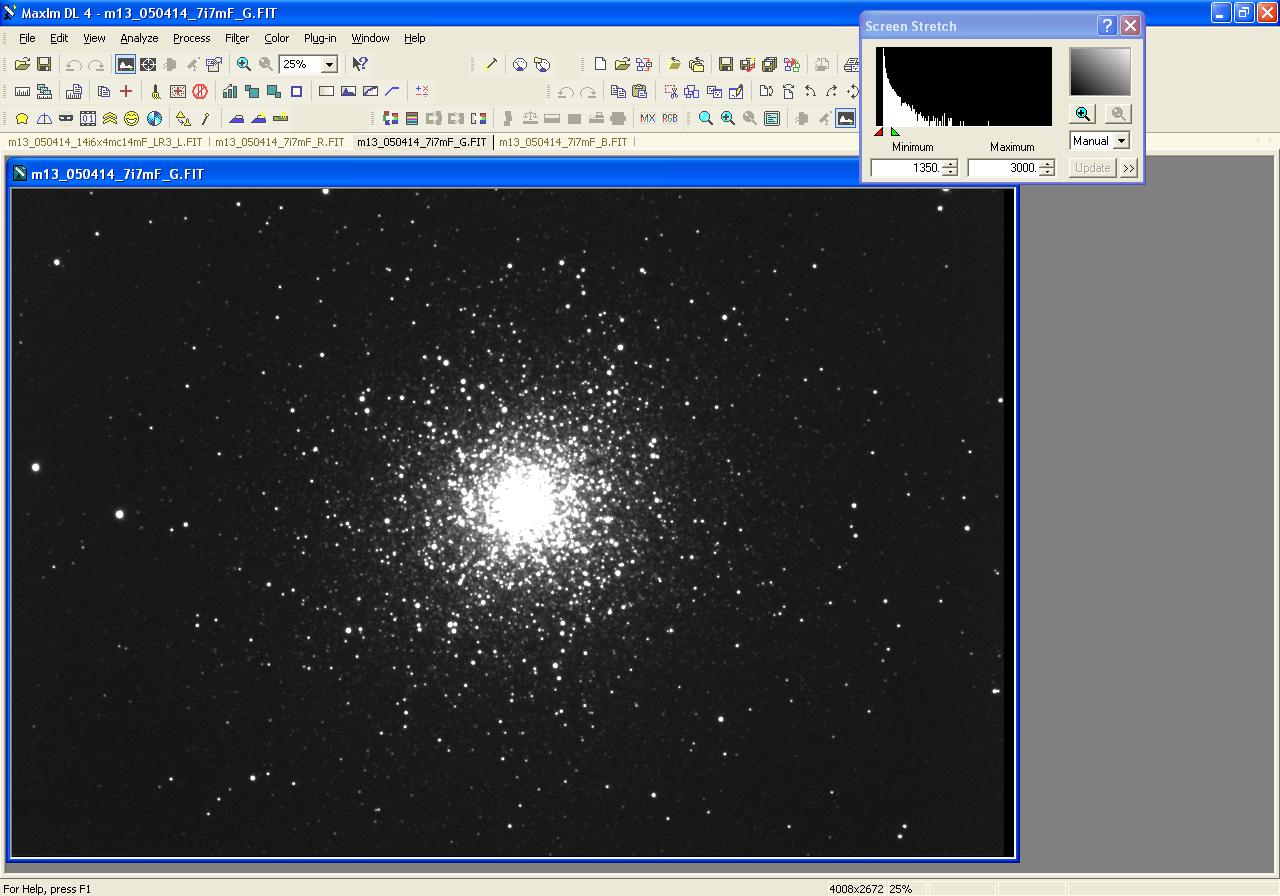
Green File
Green file: Added stack of 7 sub-frames, each exposed for 1 minute, unbinned, through an SBIG Green filter.
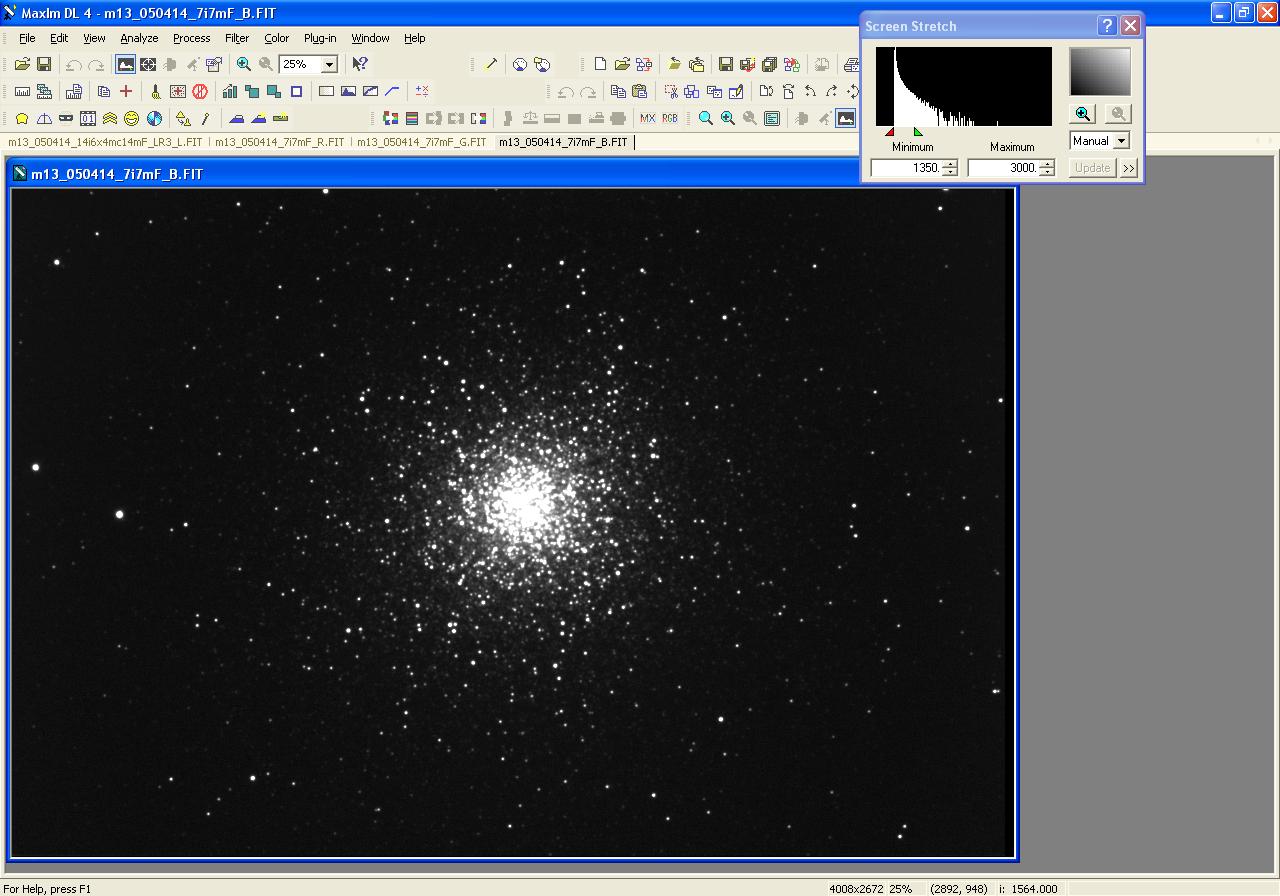
Blue File
Blue file: Added stack of 7 sub-frames, each exposed for 1 minute, unbinned, through an SBIG Blue filter.
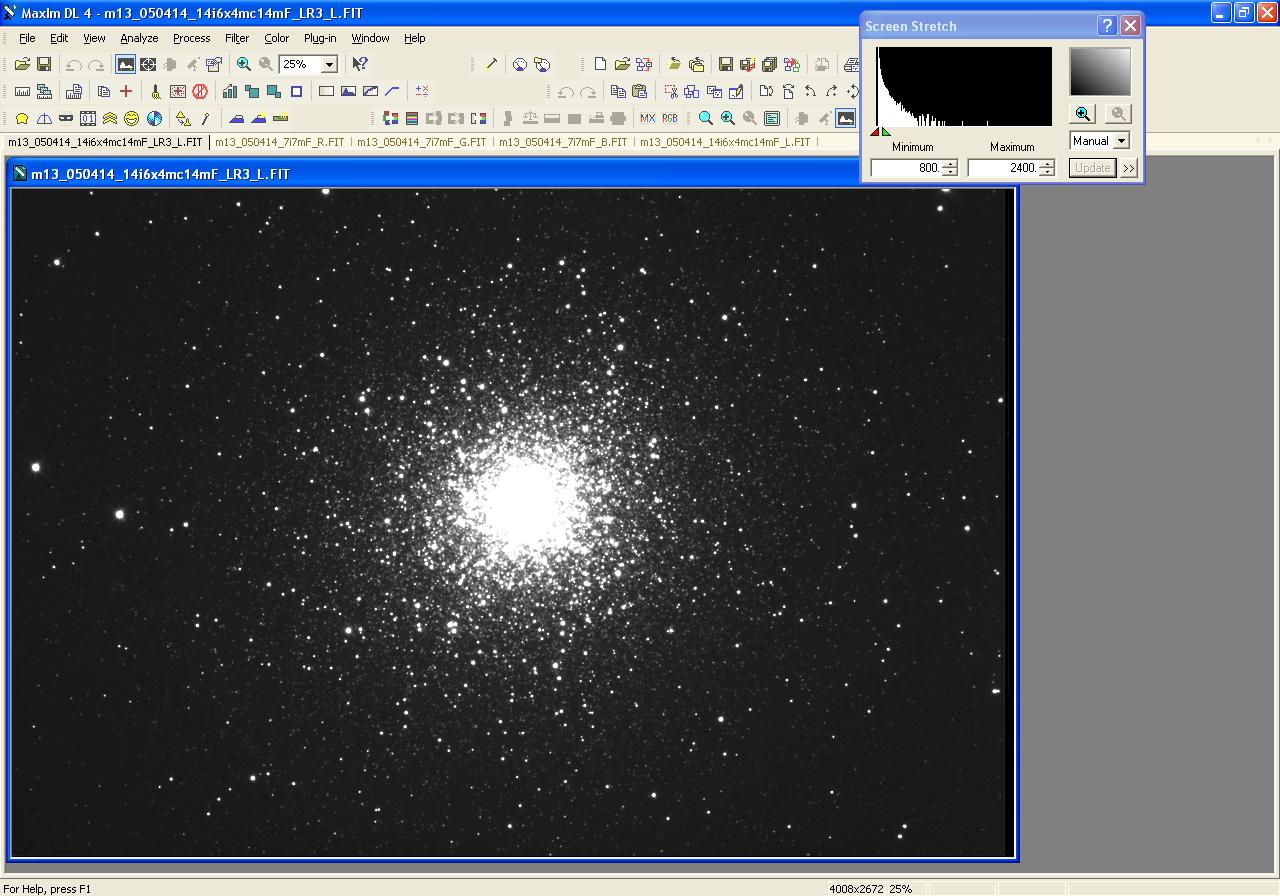
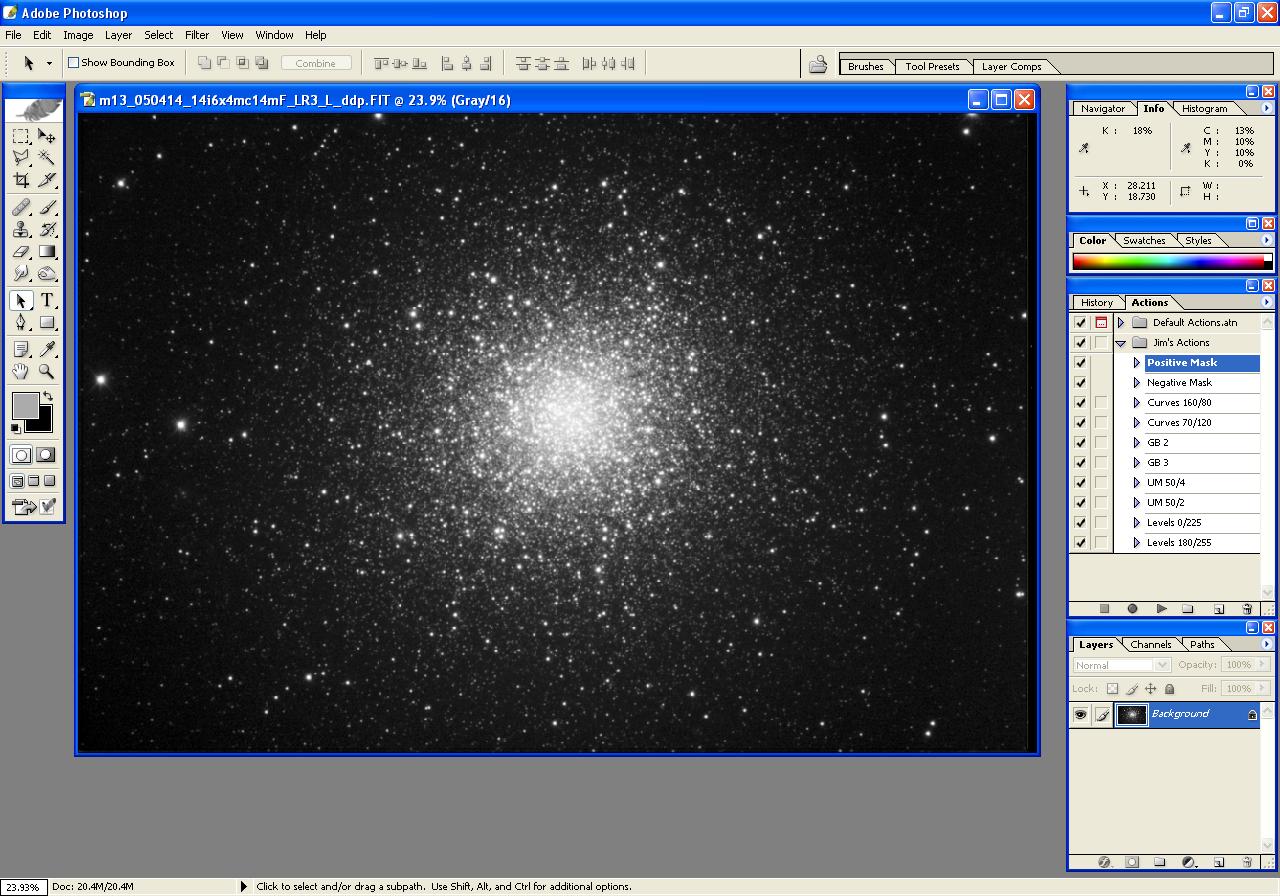
Step 1: Deconvolve Luminance File
Use CCDSharp to do a 3-iteration Richardson-Lucy Deconvolution on the Luminance frame. Luminance file shown after deconvolution at right.
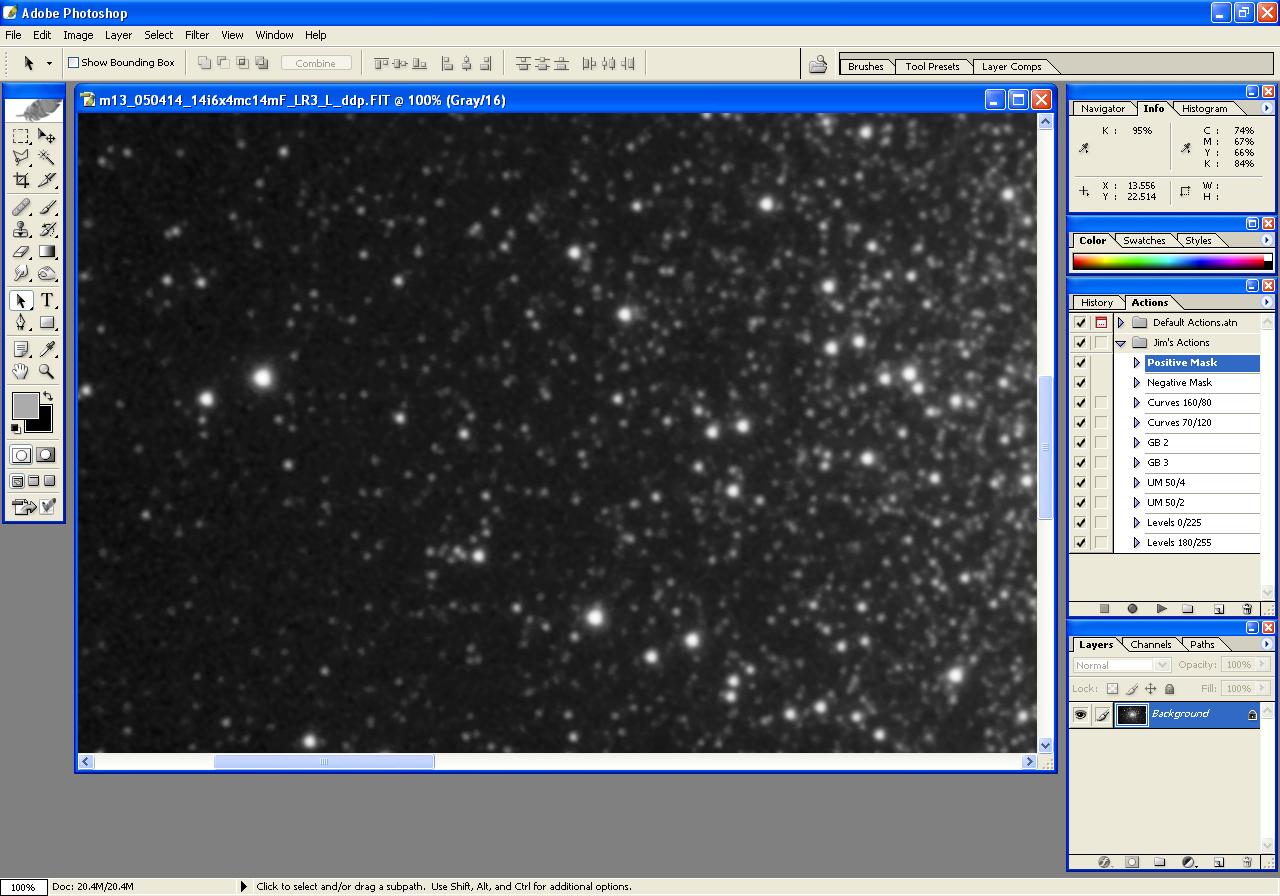
Step 2: Non-Linear Stretch of Luminance File
Use MaxIm DL to do a Non-Linear Stretch (DDP) on the Luminance frame. DDP parameters: Background = 950, Mid-Level = 1700. Luminance file shown after non-linear stretch at right.
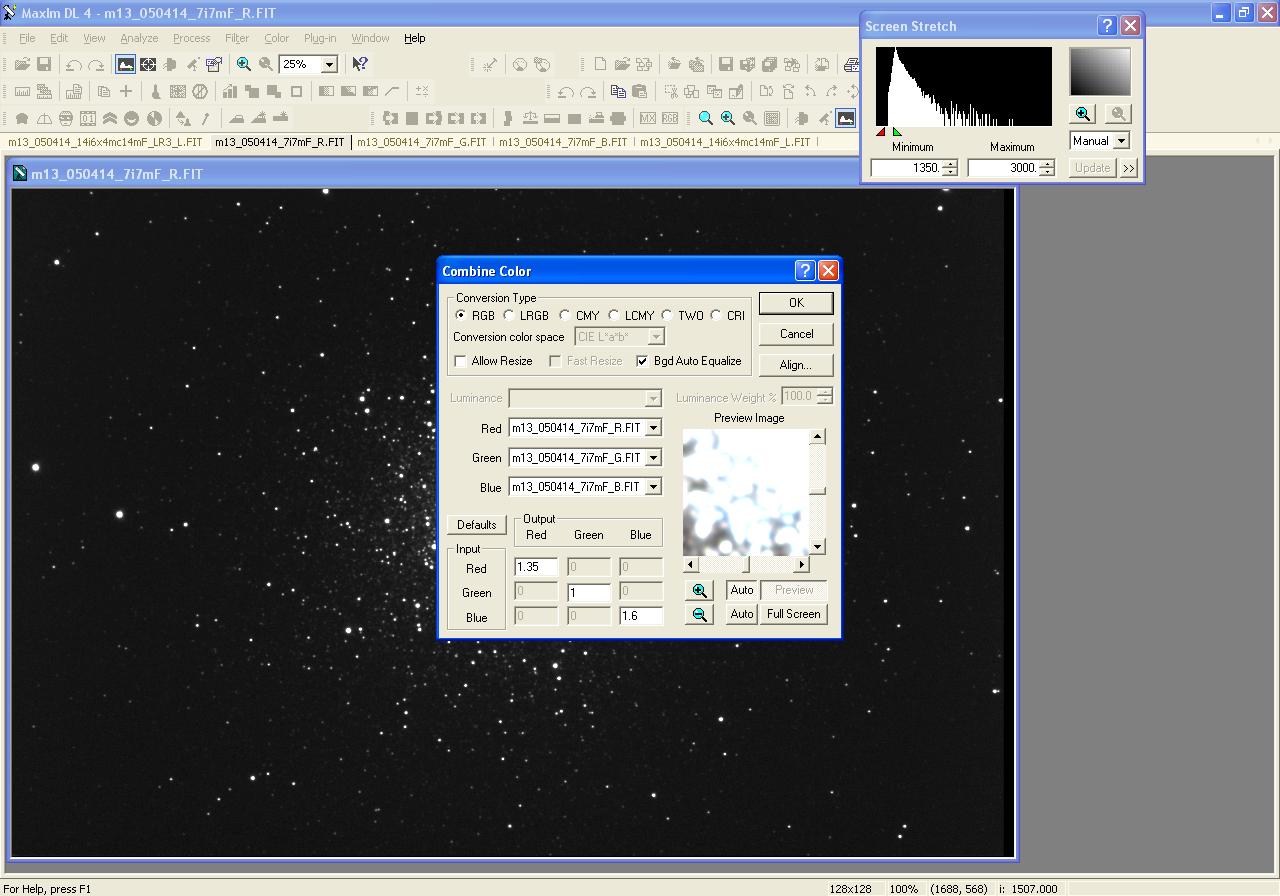
Step 3: Color Combine Red/Green/Blue frames and do Non-Linear Stretch on result
In MaxIm DL, load all three color files and select Color | Combine Color.
Set the color mixing ratio for each filter. Example: 1.35 - Red, 1.00 - Green, 1.60 - Blue. Check the Bgd Auto Equalize button.
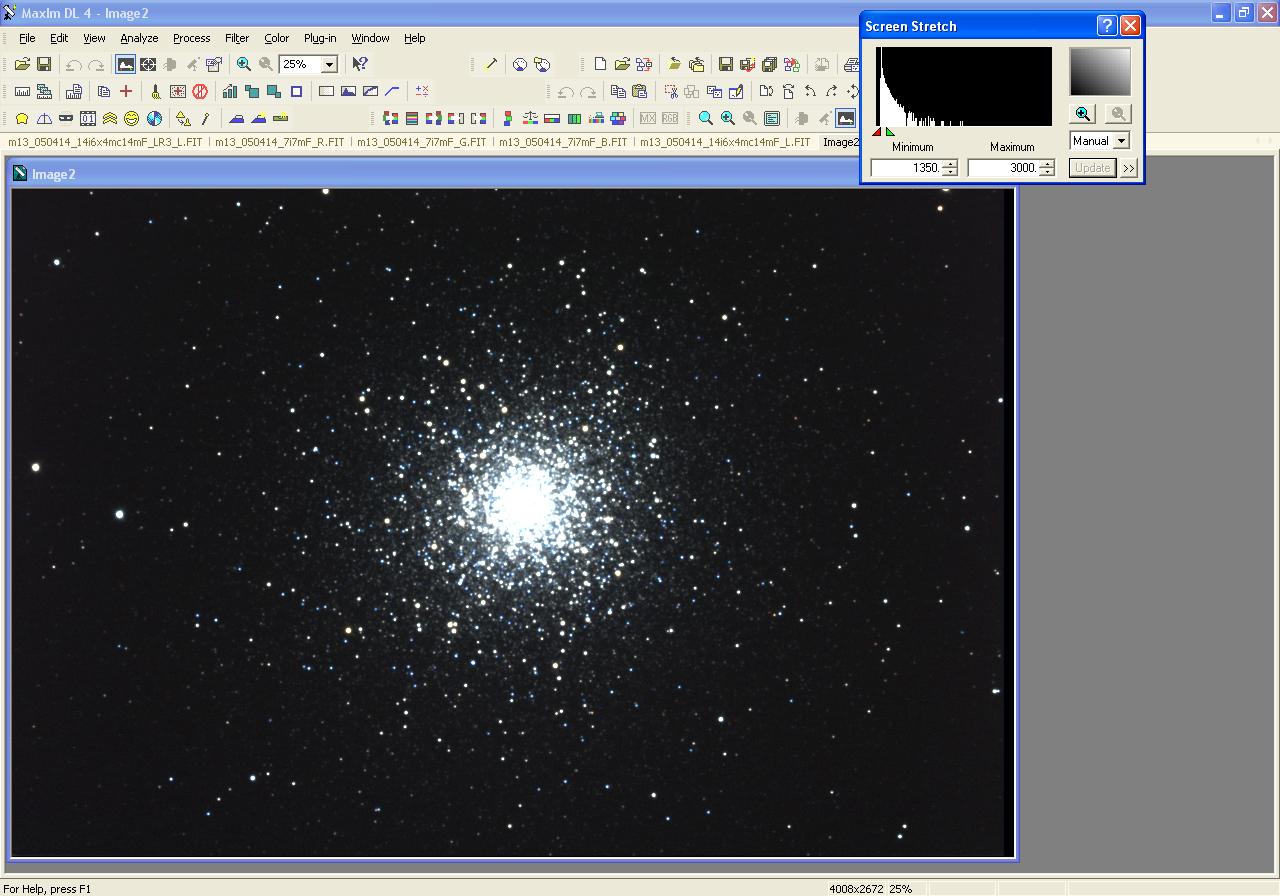
After color combine, do a non-linear stretch (DDP) on the RGB frame. DDP parameters: Background = 1350, Mid-Level = 3000. Save as 16-bit TIFF.
The color here may seem washed out, but will be improved in Photoshop.
Set the color mixing ratio for each filter. Example: 1.35 - Red, 1.00 - Green, 1.60 - Blue. Check the Bgd Auto Equalize button.
After color combine, do a non-linear stretch (DDP) on the RGB frame. DDP parameters: Background = 1350, Mid-Level = 3000. Save as 16-bit TIFF.
The color here may seem washed out, but will be improved in Photoshop.
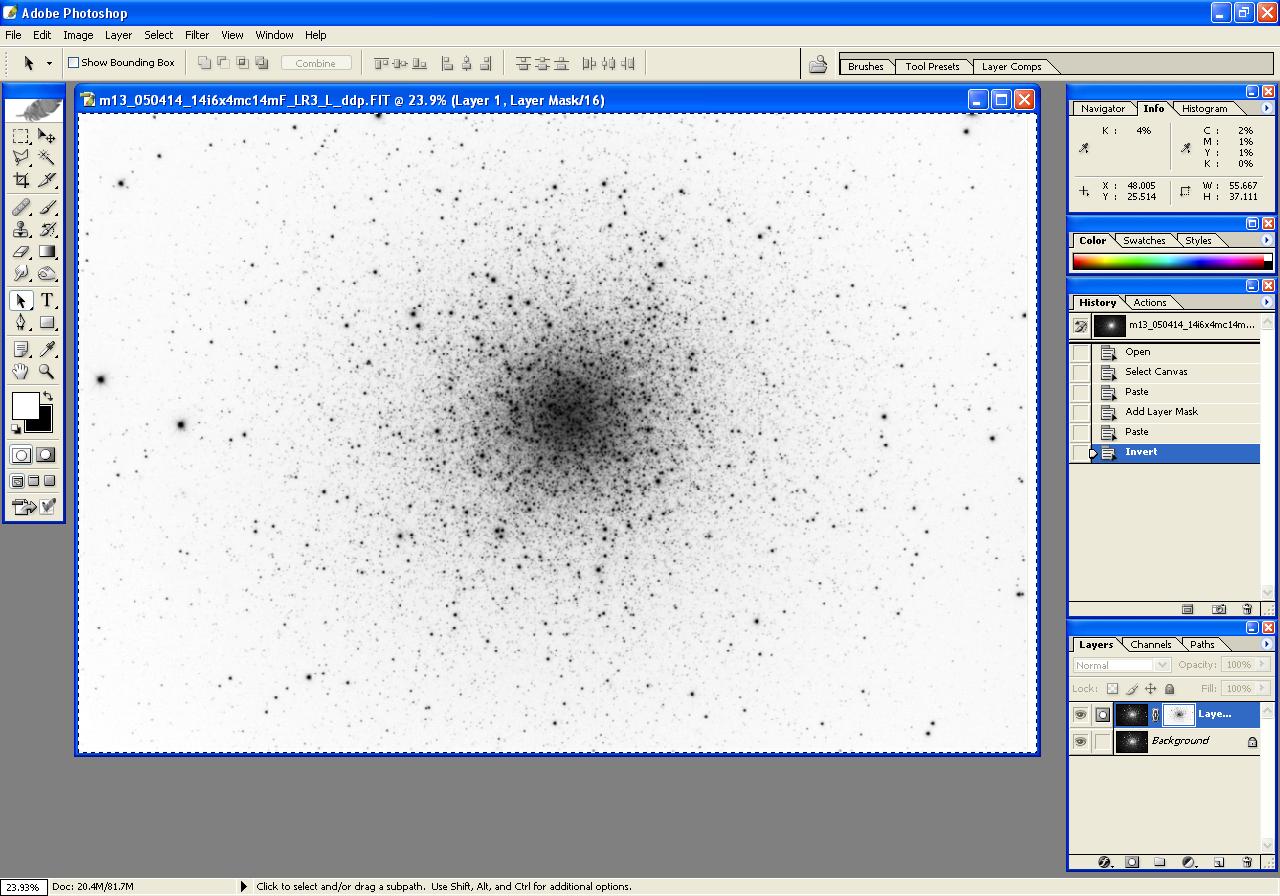
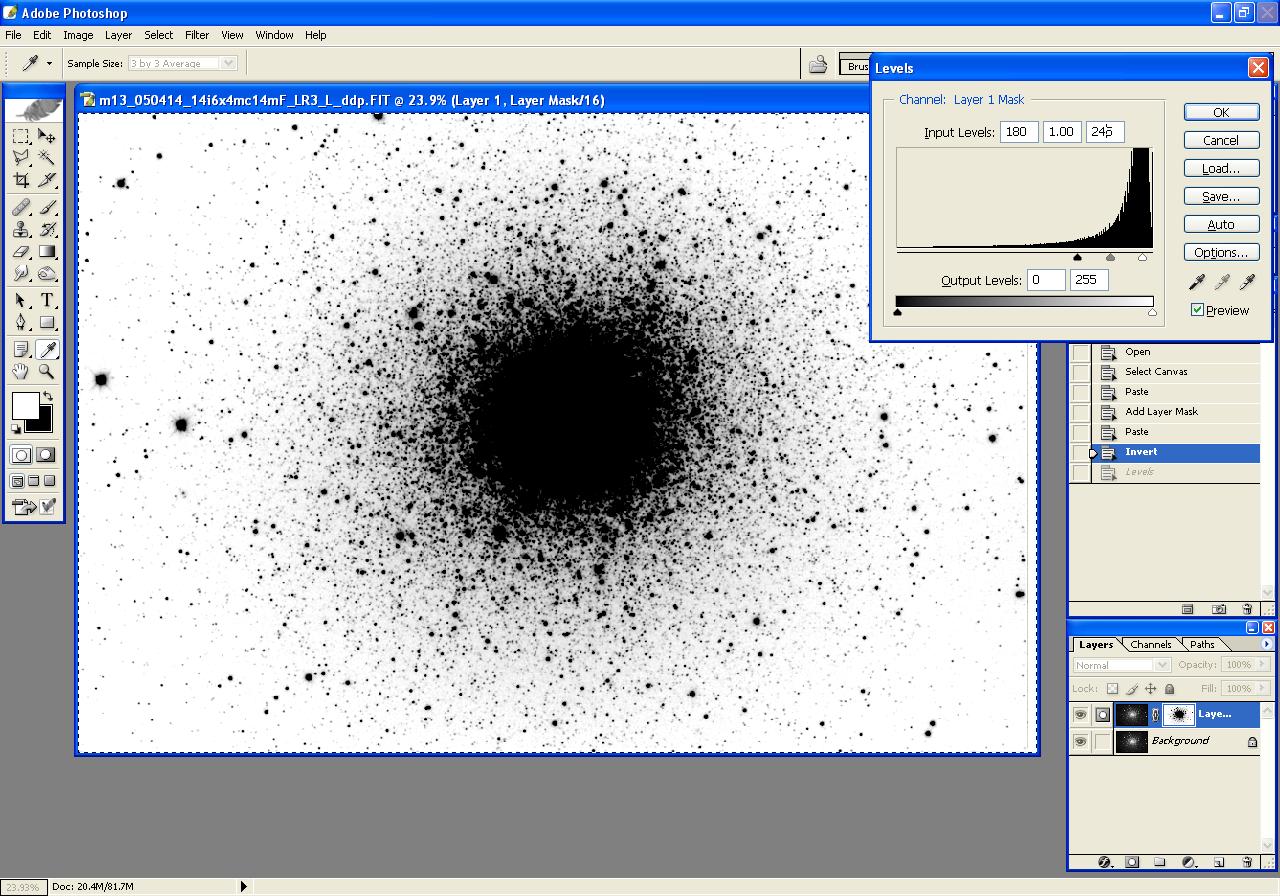
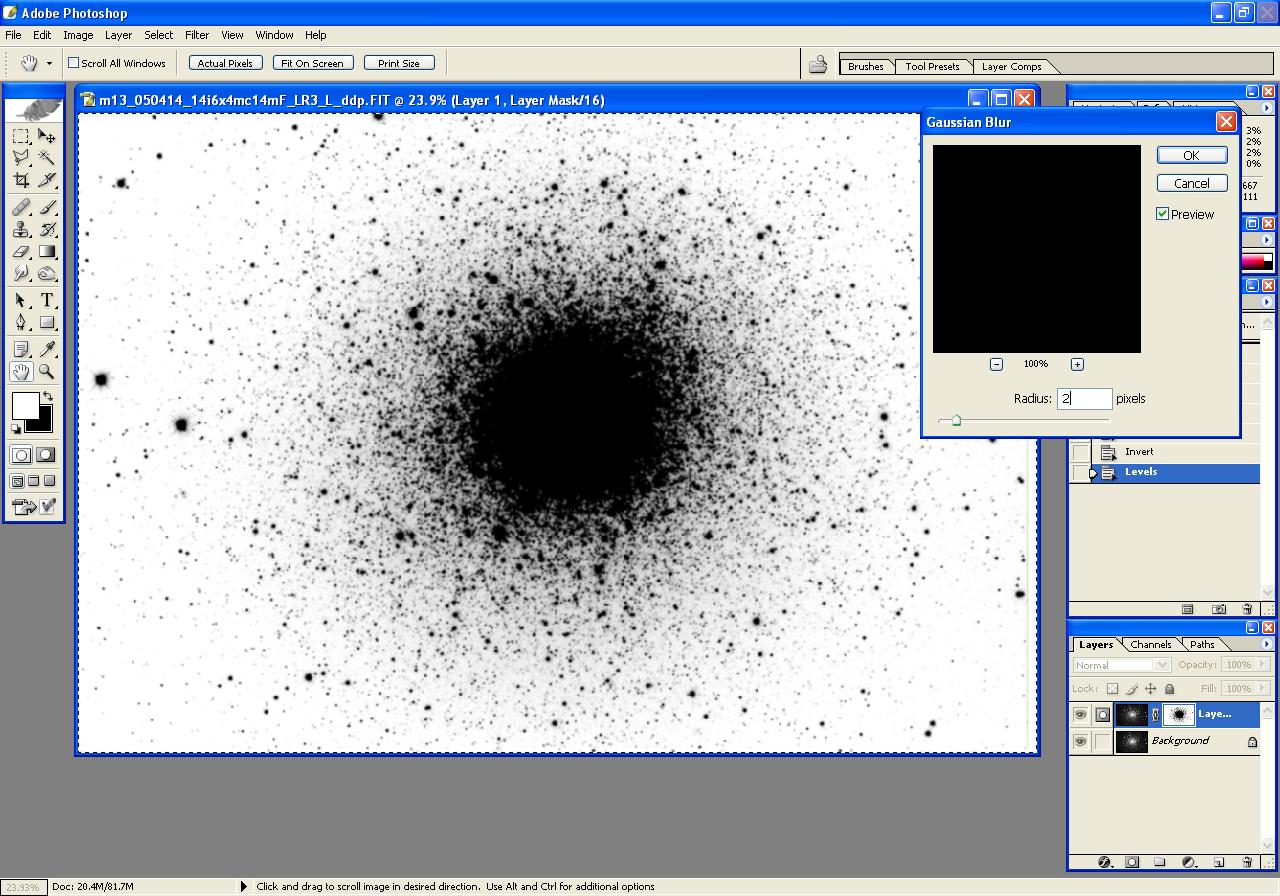
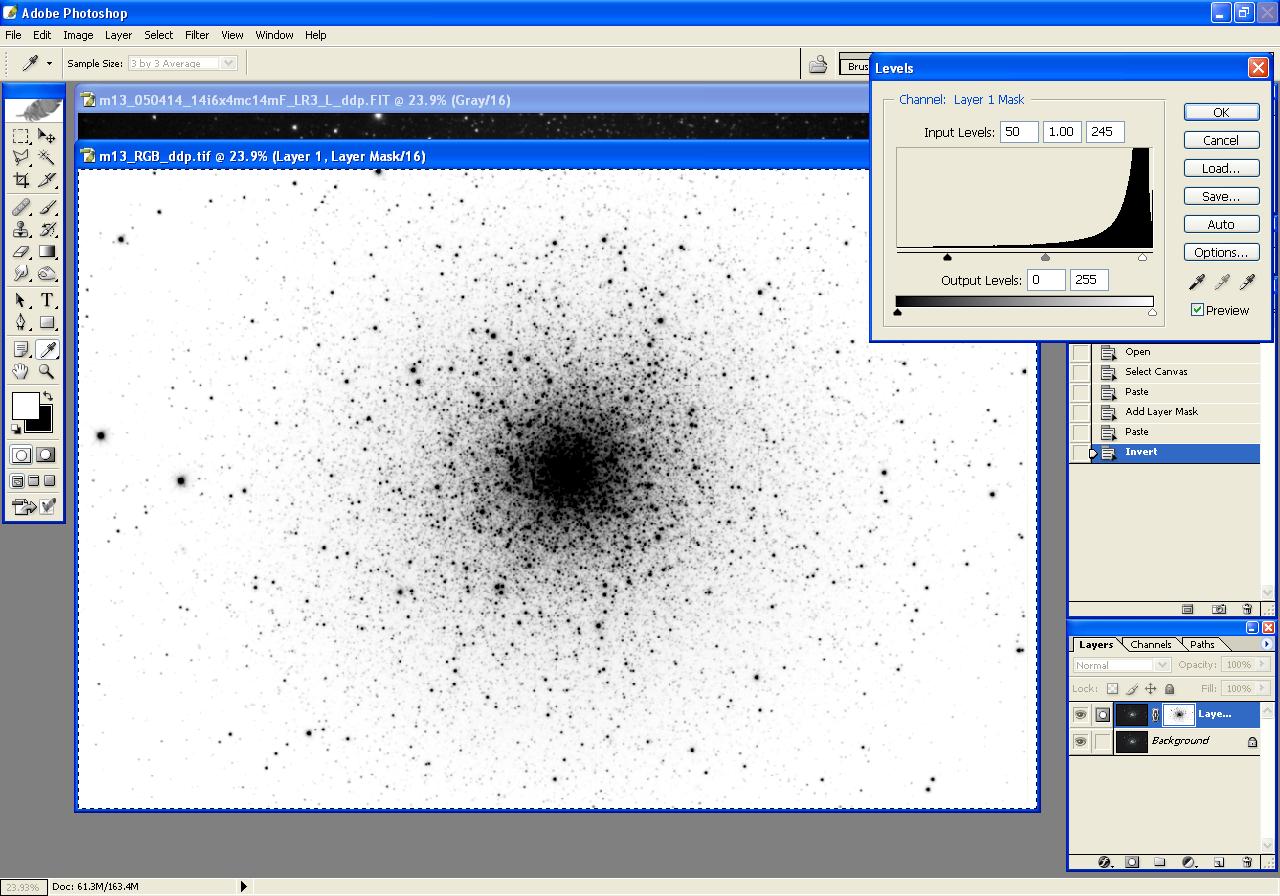
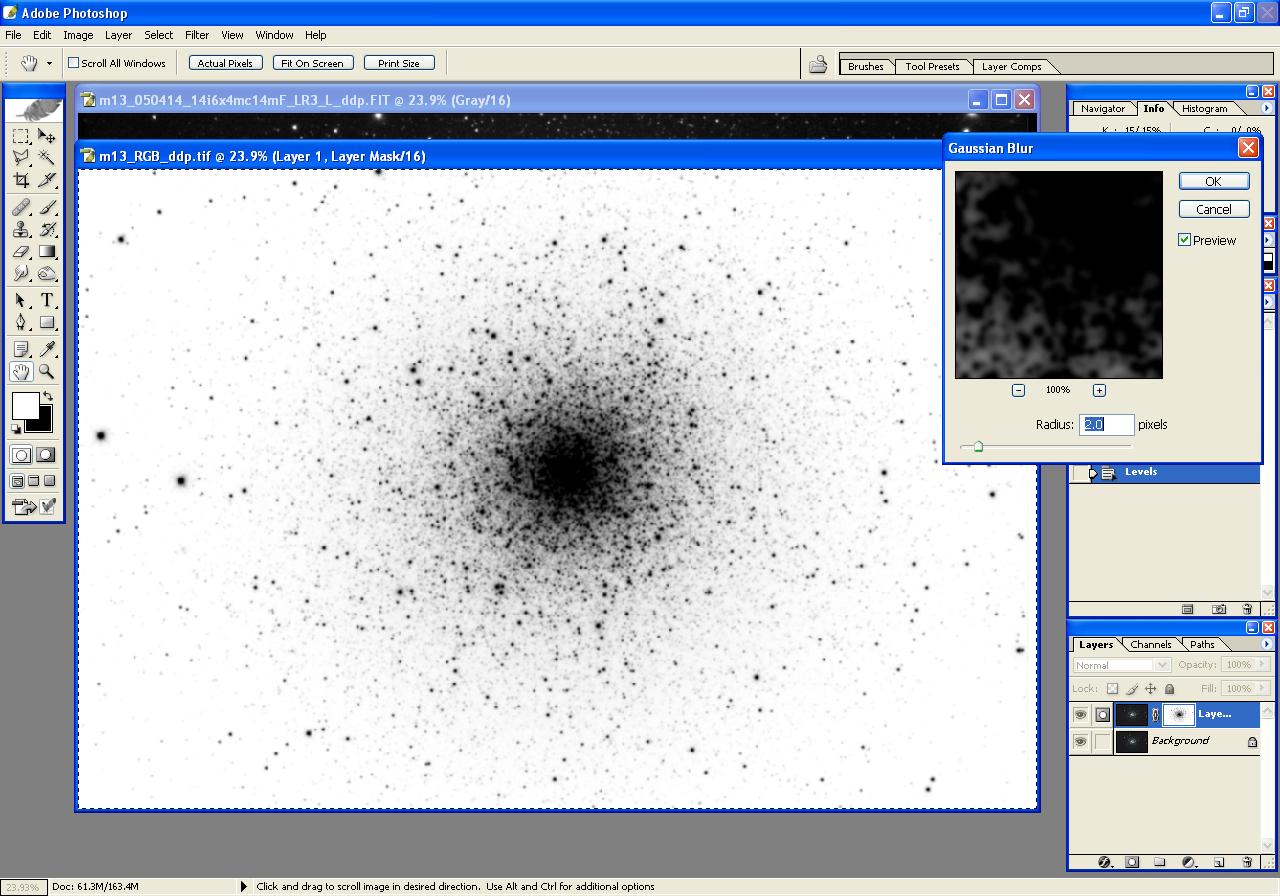
Step 4: Load Luminance into Photoshop, Reduce Background Noise using Inverted Layer Mask
Load the non-linear stretched Luminance frame into Photoshop. Use Inverted Layer Mask and Gaussian Blur to reduce noise in the low-signal areas, protecting stars and details. Adjust Levels as needed.


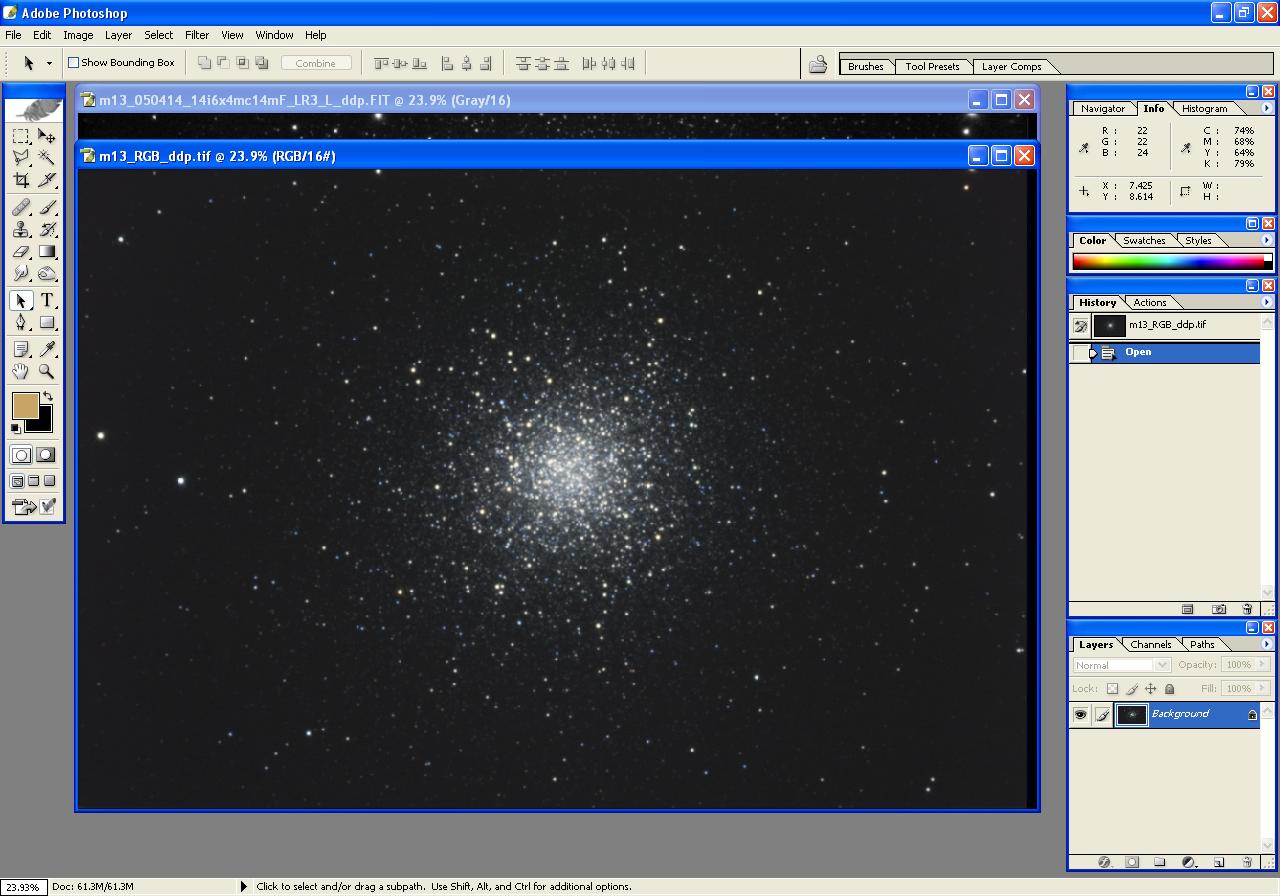
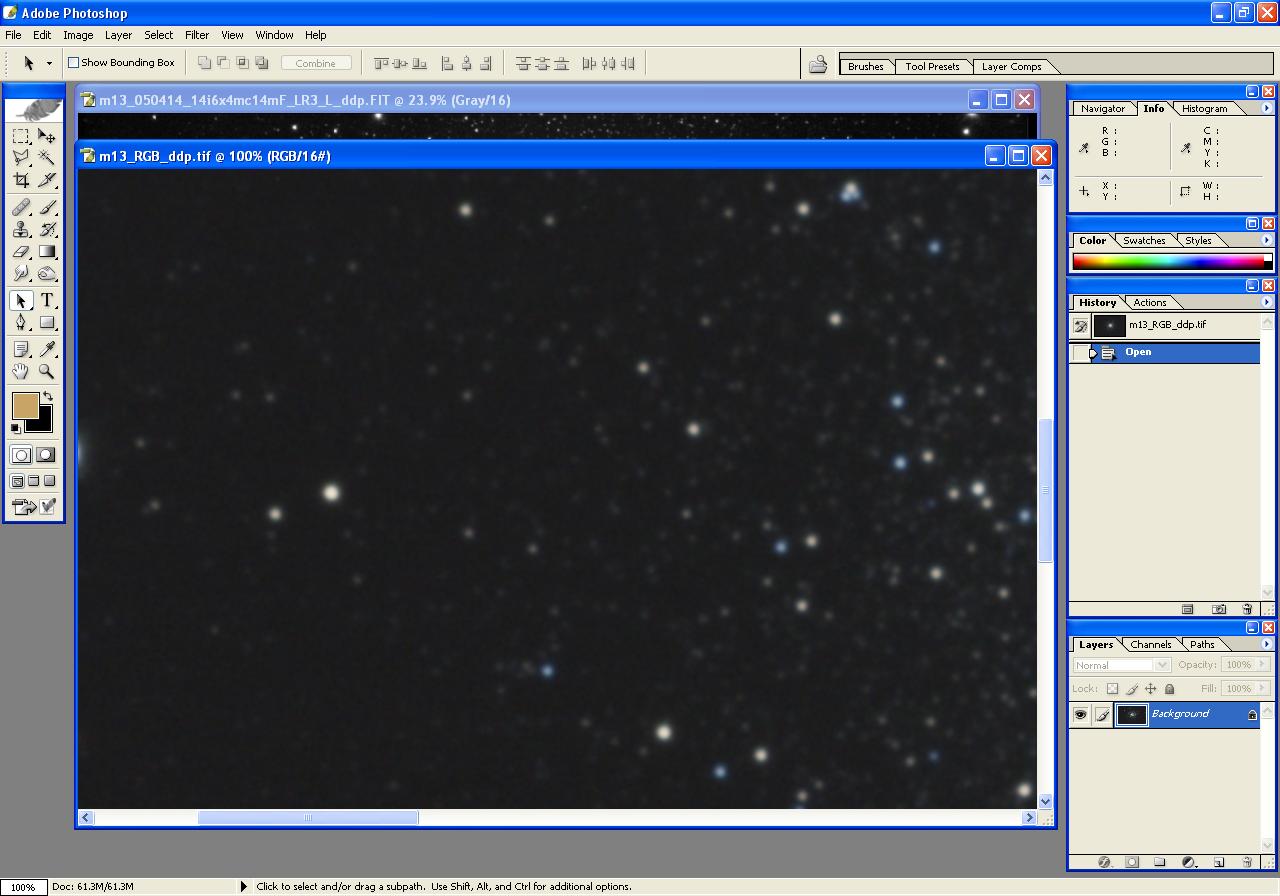
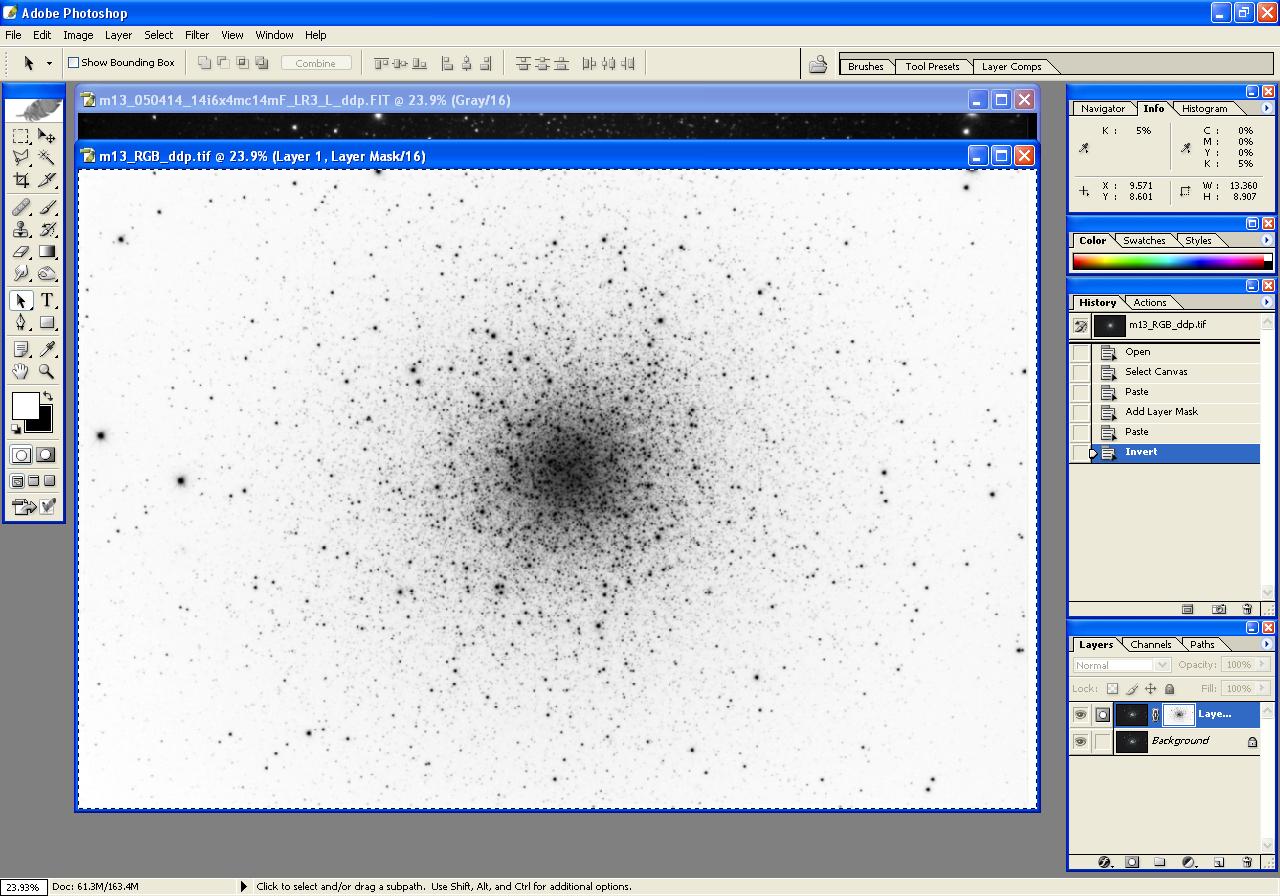
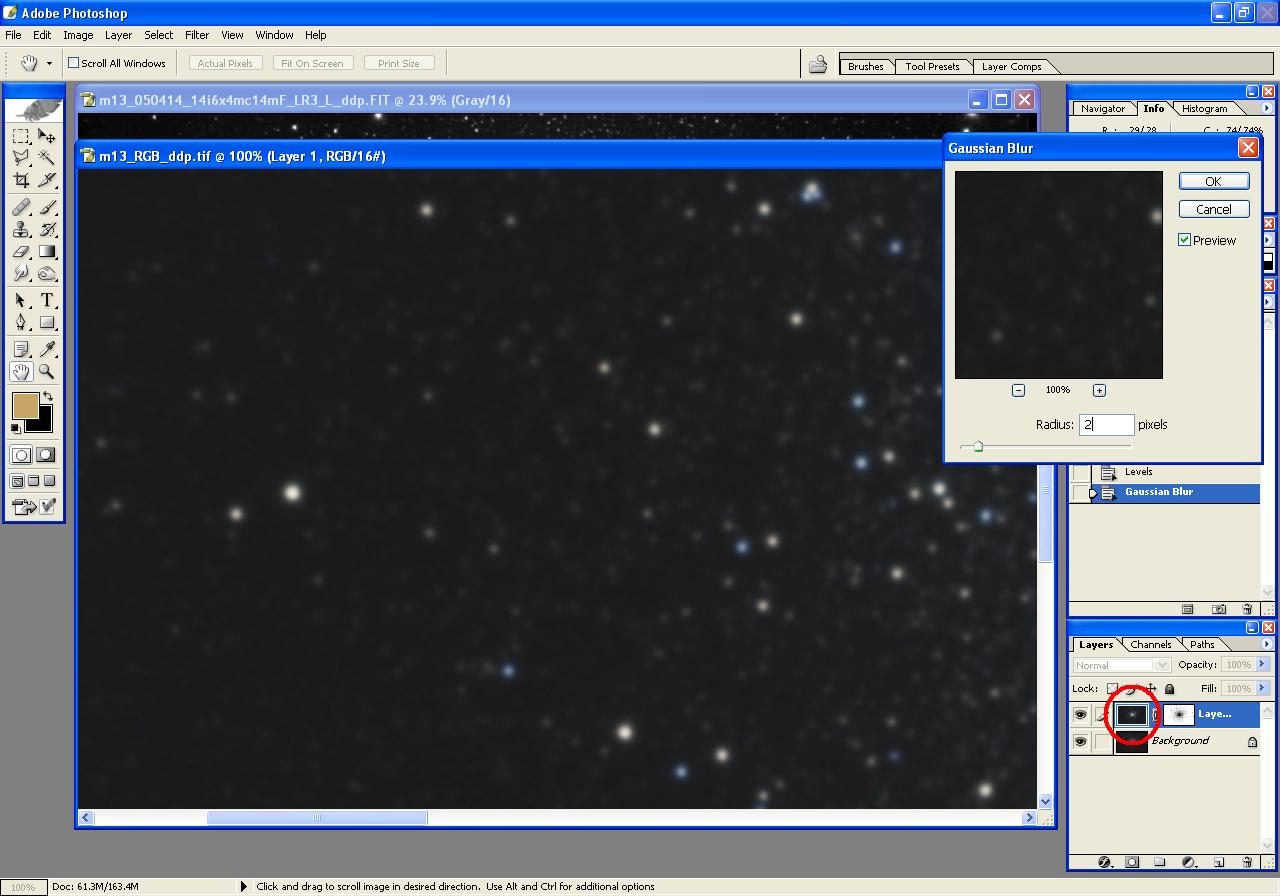
Step 5: Load RGB Image, Reduce Color Noise using Inverted Layer Mask
Load the non-linear stretched RGB image. Use Inverted Layer Mask (using the Luminance image as the mask) and Gaussian Blur to reduce color noise. Adjust Levels as needed.

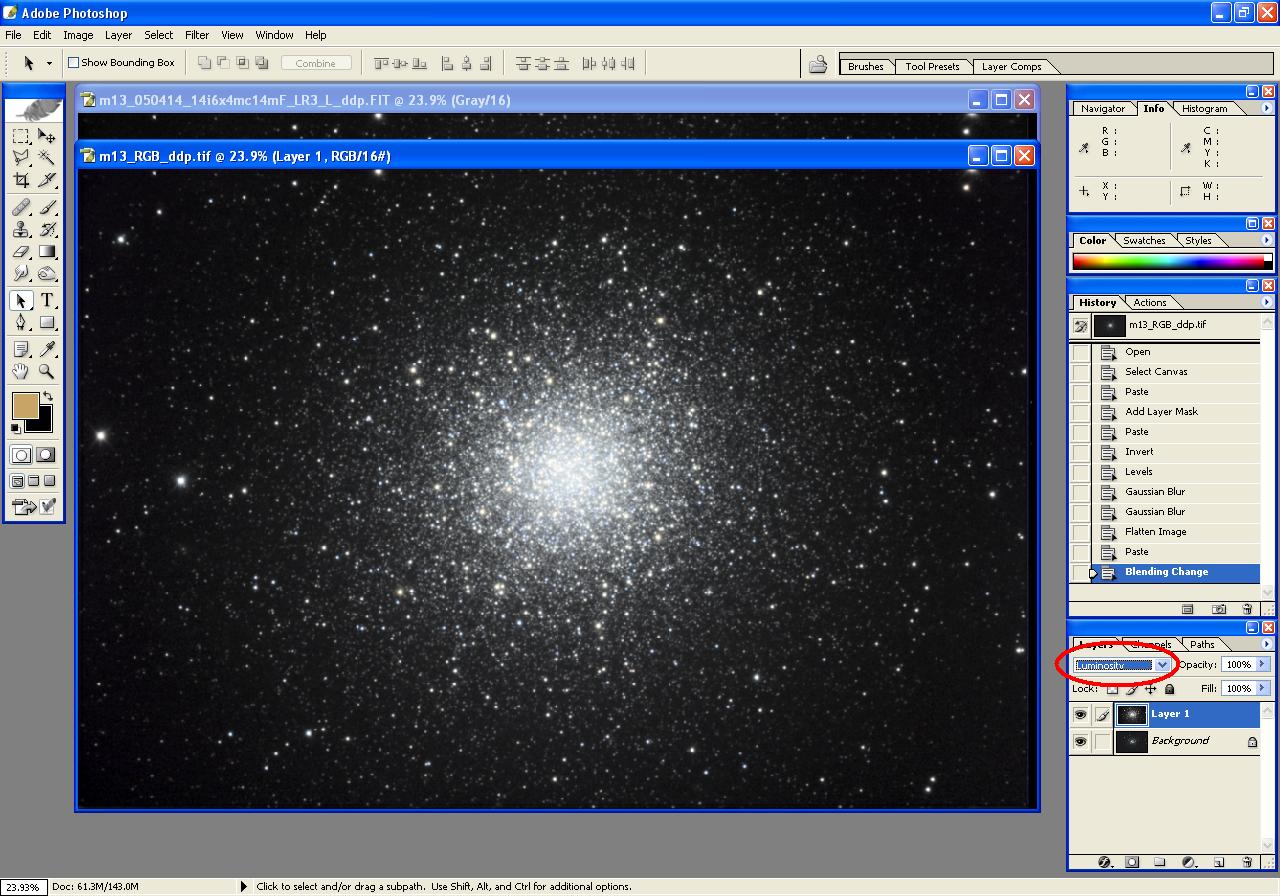
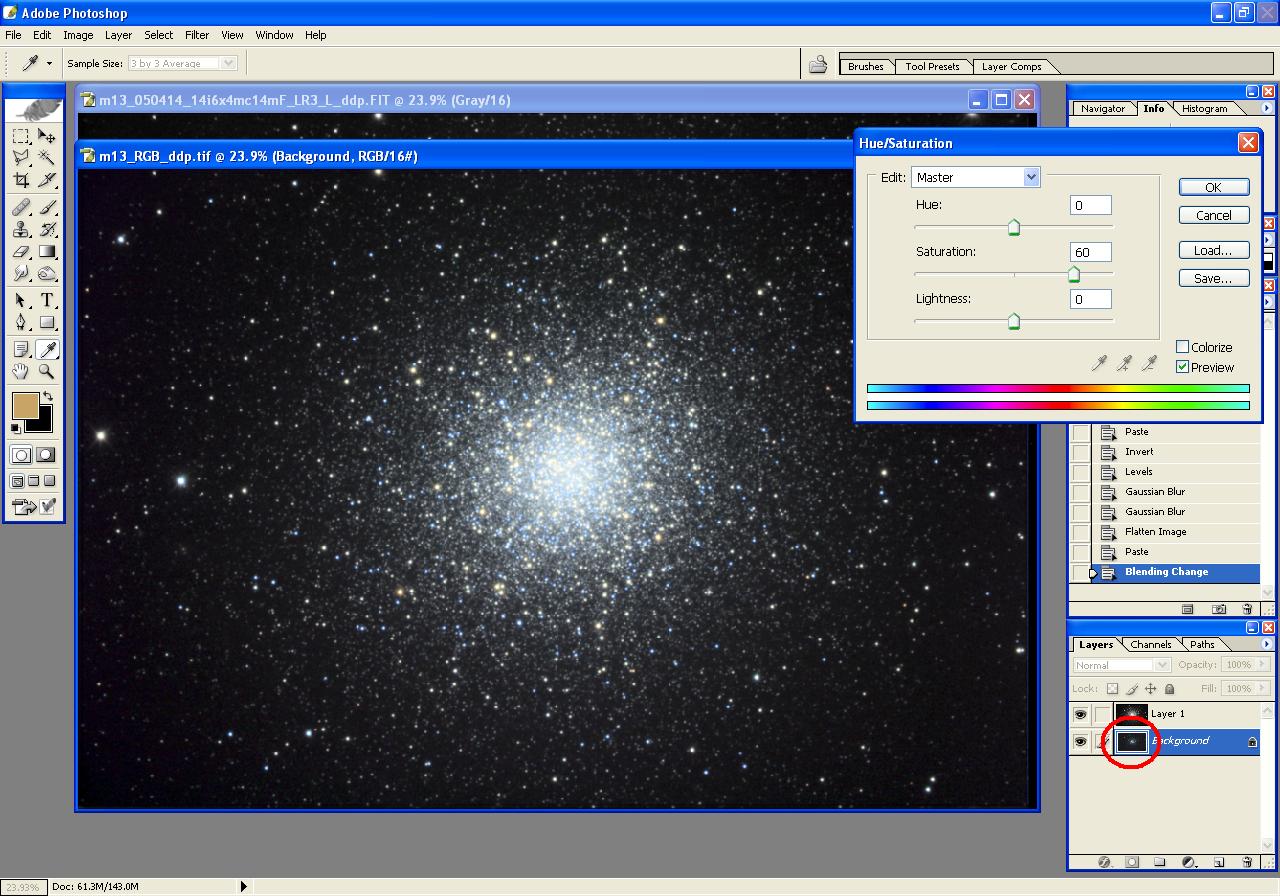
Step 6: Merge Luminance image into RGB image
In Photoshop, copy the Luminance image and paste it onto the RGB image. Set the blend mode to Luminosity. Adjust color saturation as needed (Image | Adjustments | Hue/Saturation). Flatten layers to make the merger permanent.
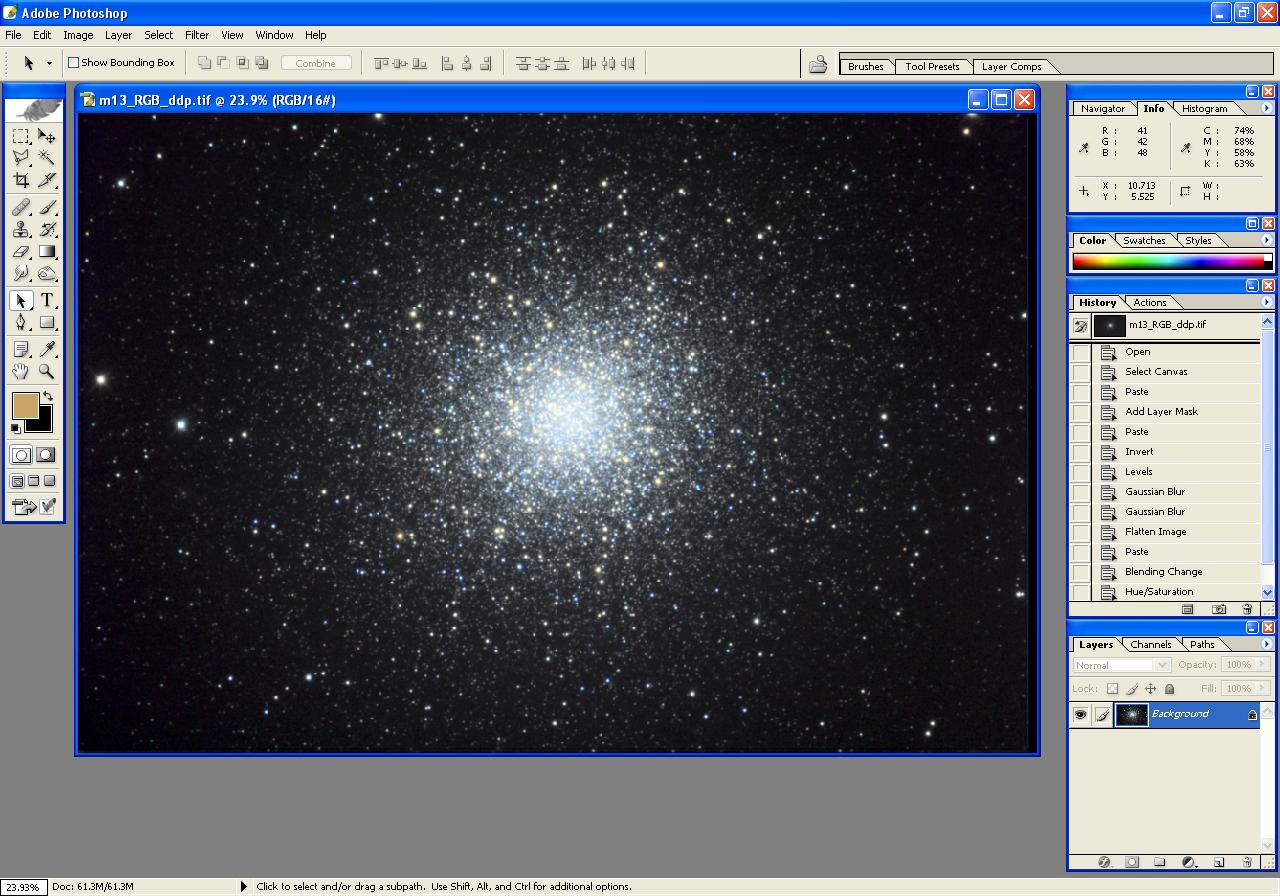
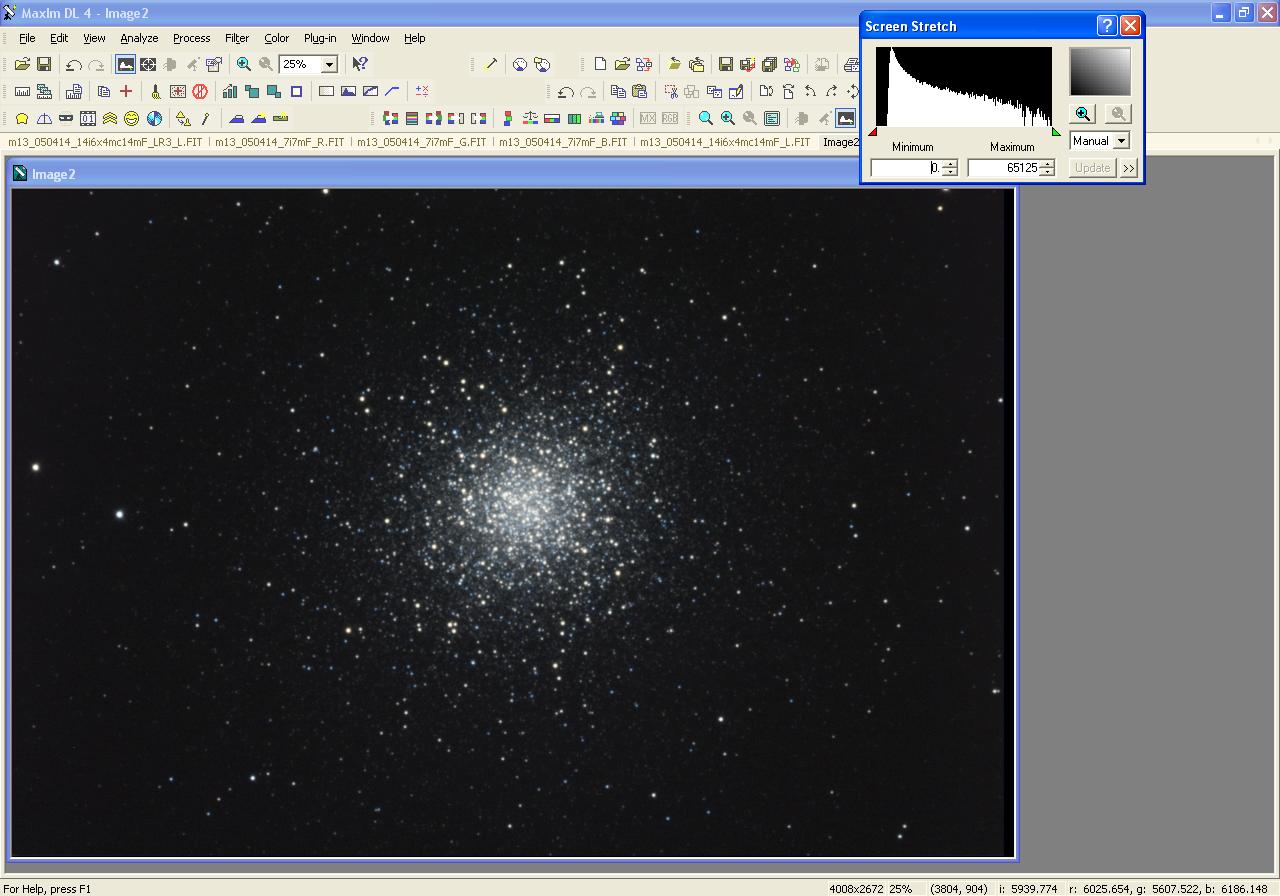
Step 7: Final Adjustments/Tweaking Image
Final adjustments are subjective and depend on the imager's preferences. Adjust brightness, contrast, and color to achieve the desired final result.